Hard to believe this was less than four weeks ago.
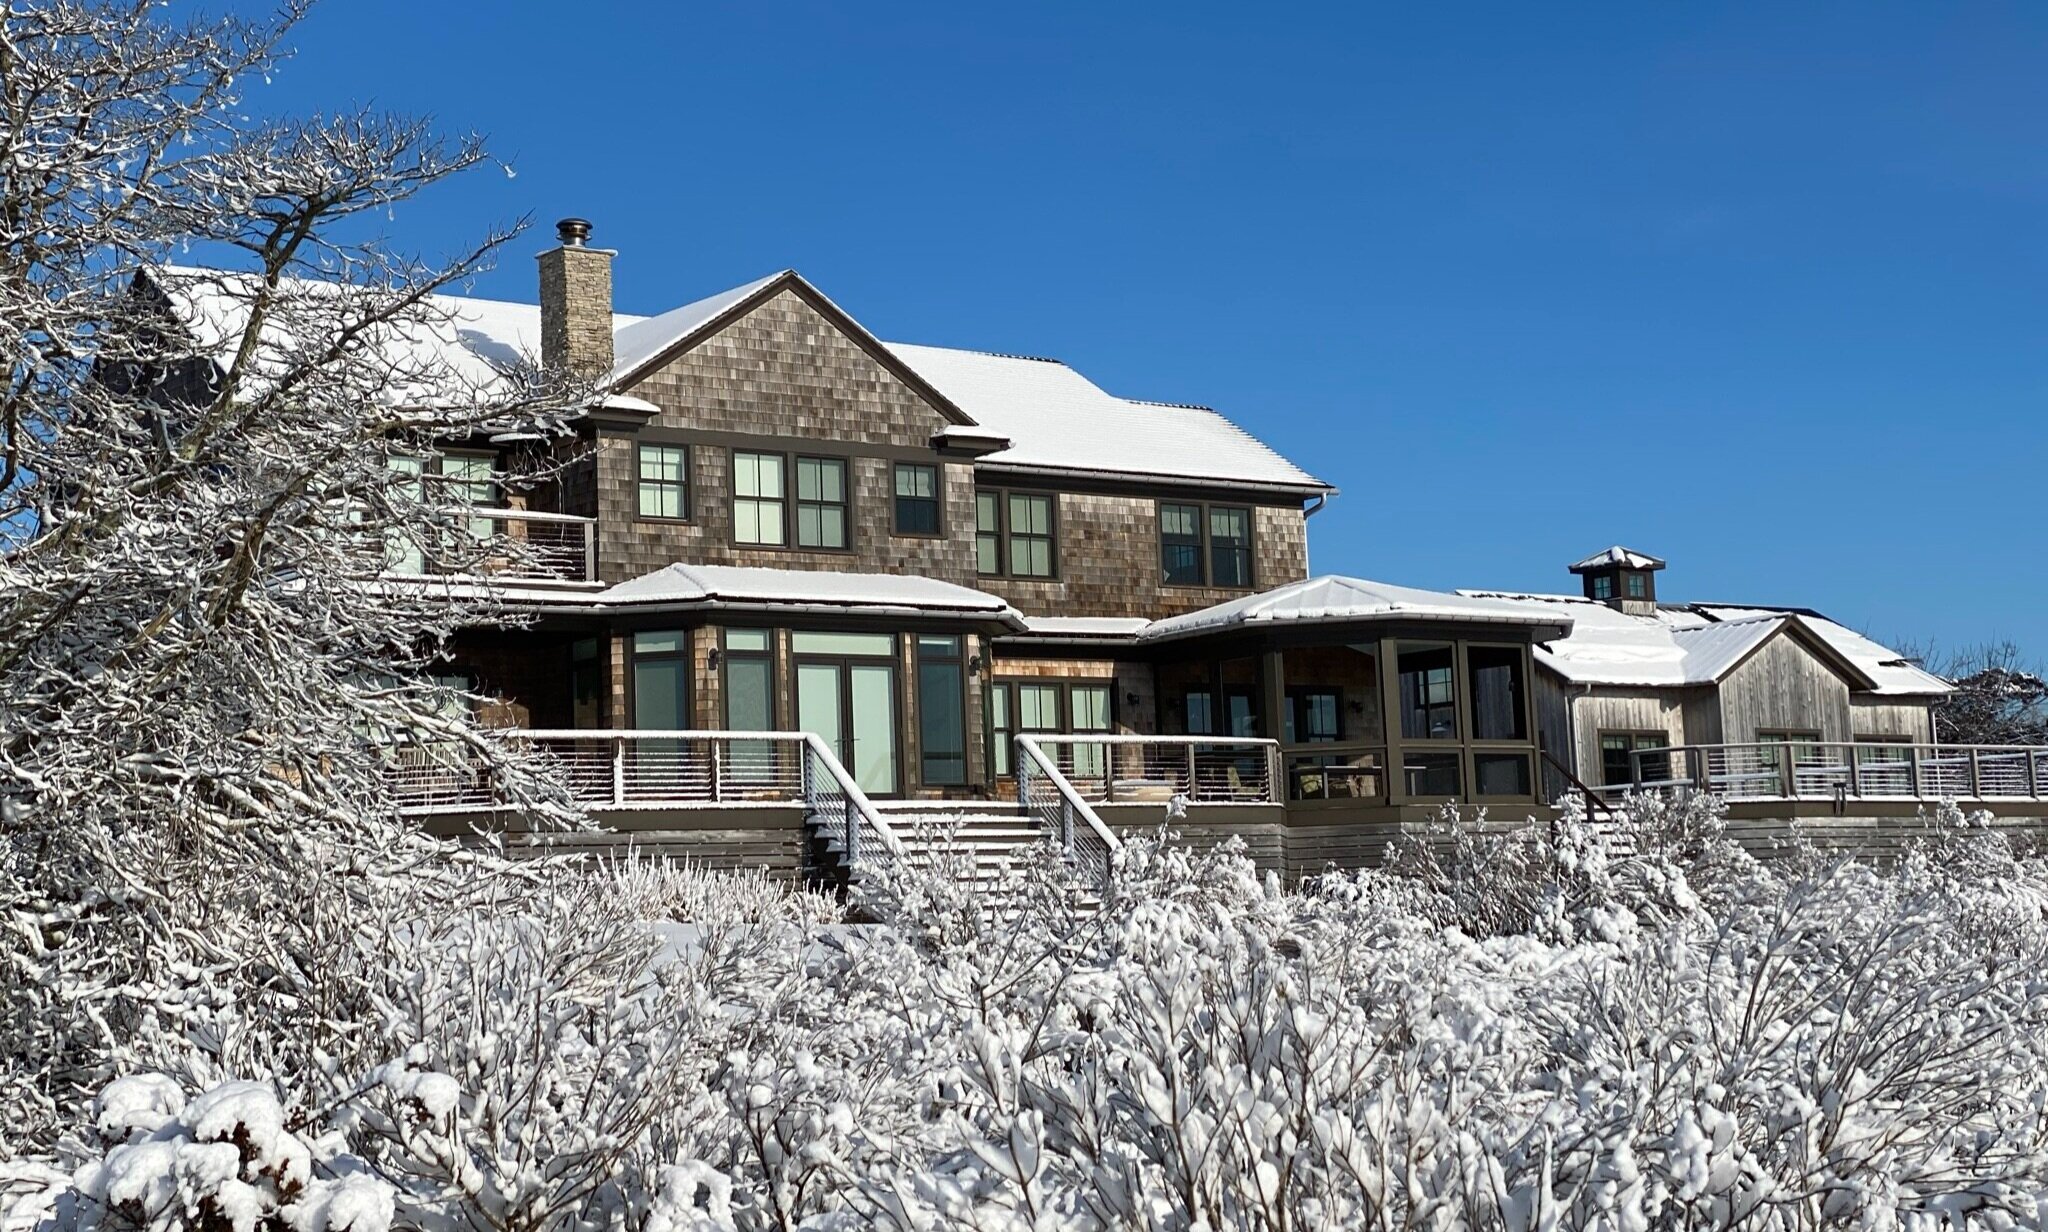
Aftermath of February 7, 2021 Snow Storm
Today, all of the snow is gone and I am seeing myriad signs that spring is around the corner. Flocks of Canada geese are flying by. Daffodil and tulip bulbs planted in the fall are pushing up through the ground. The weather forecast is calling for temperatures above 50 degrees three days this week.
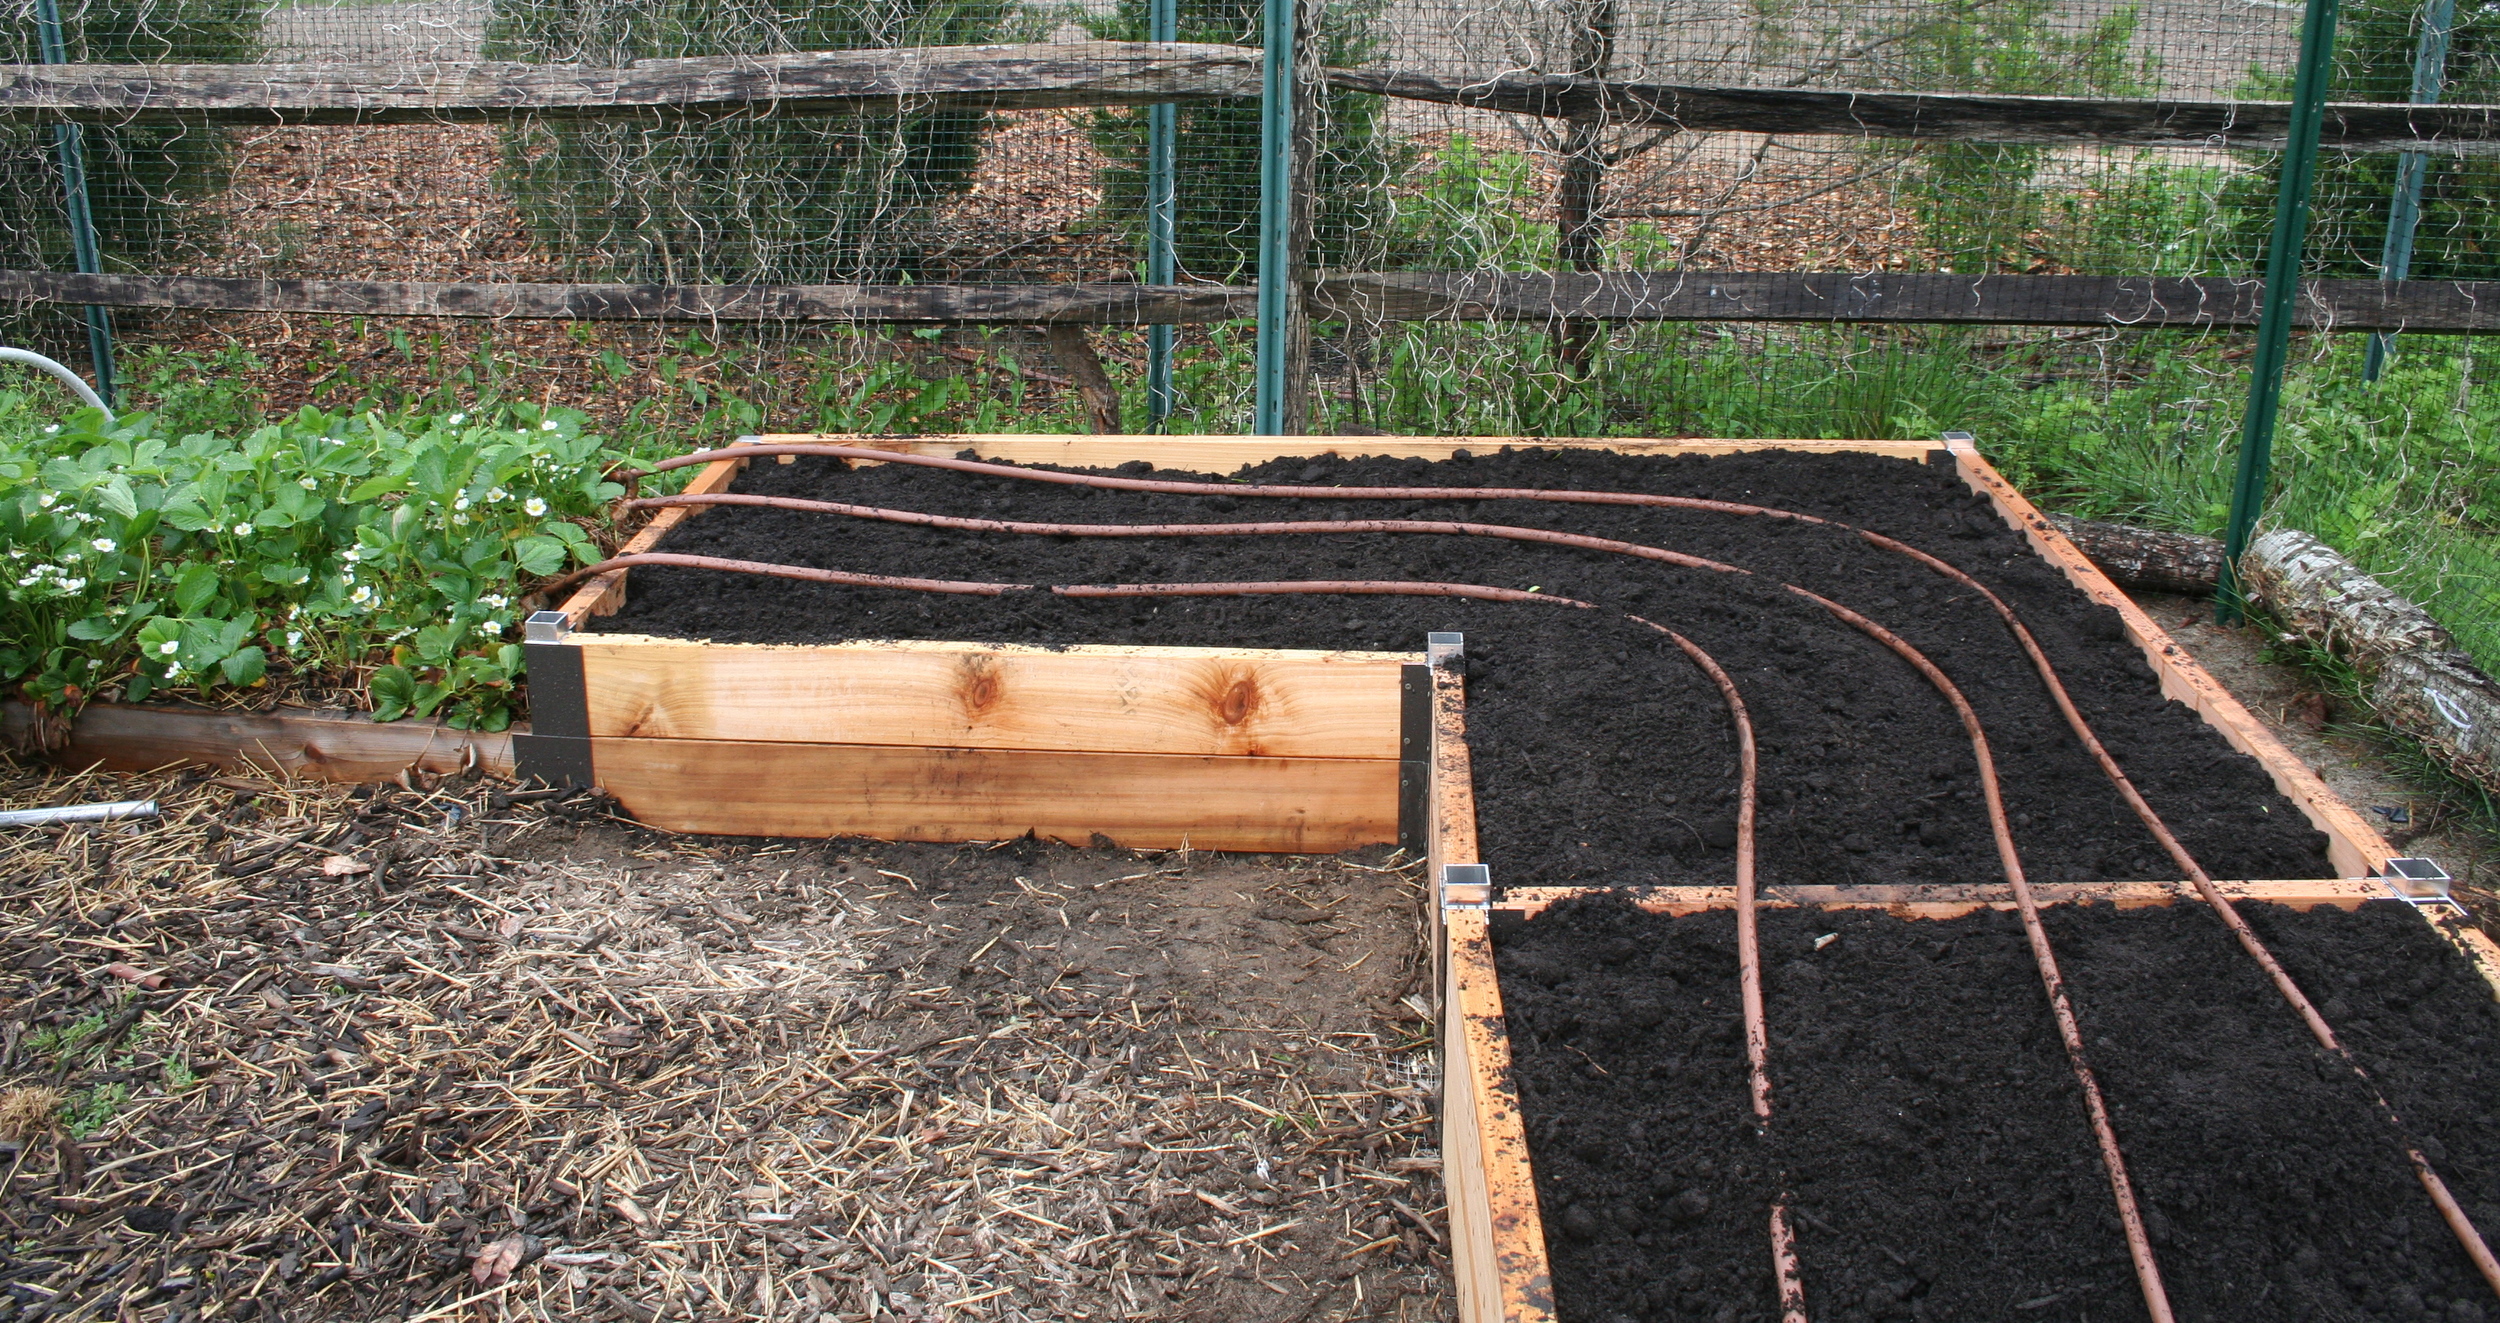
If you have been following us, you know that we use organic gardening methods and grow nearly all of our produce from seed, which we ordered this year from Seeds Savers Exchange, Fruition Seeds and several other purveyors of organic heirloom seeds.
And several weeks ago, gardening season began in earnest when I dragged the wire shelves and LED T-8 shop lights up from the basement, ordered some 10x20 seedling trays to replace those that had cracked at the corners after serving me well for several years, and pulled up my trusty gardening spreadsheet, which I built many years ago to help me get organized at seed starting time.
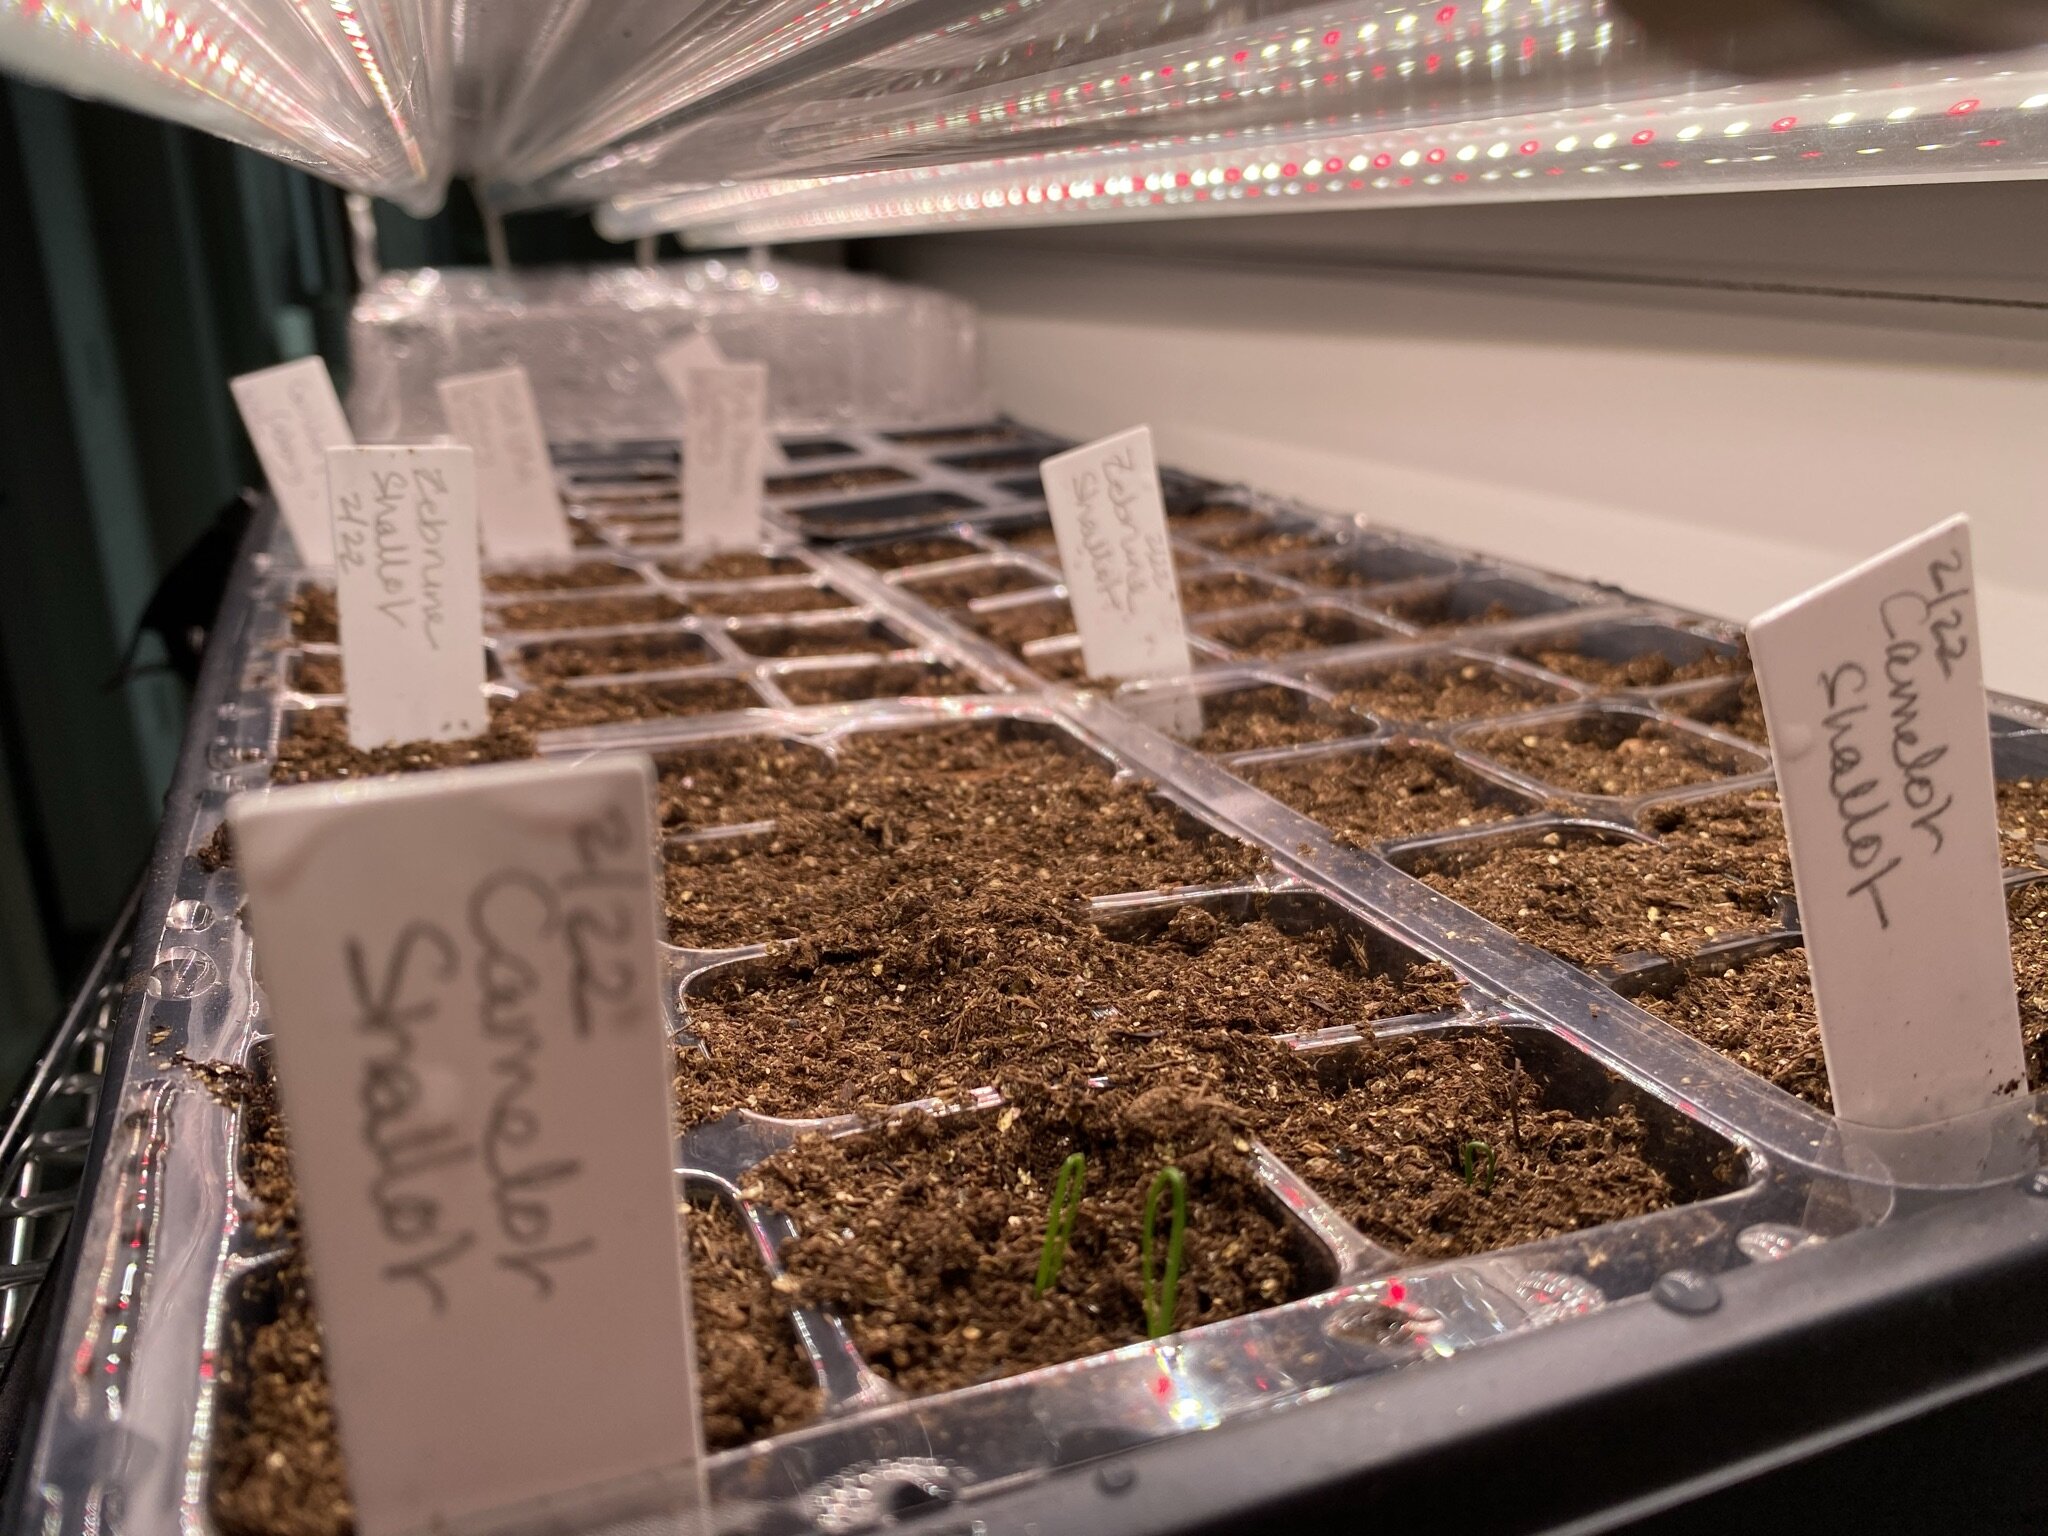

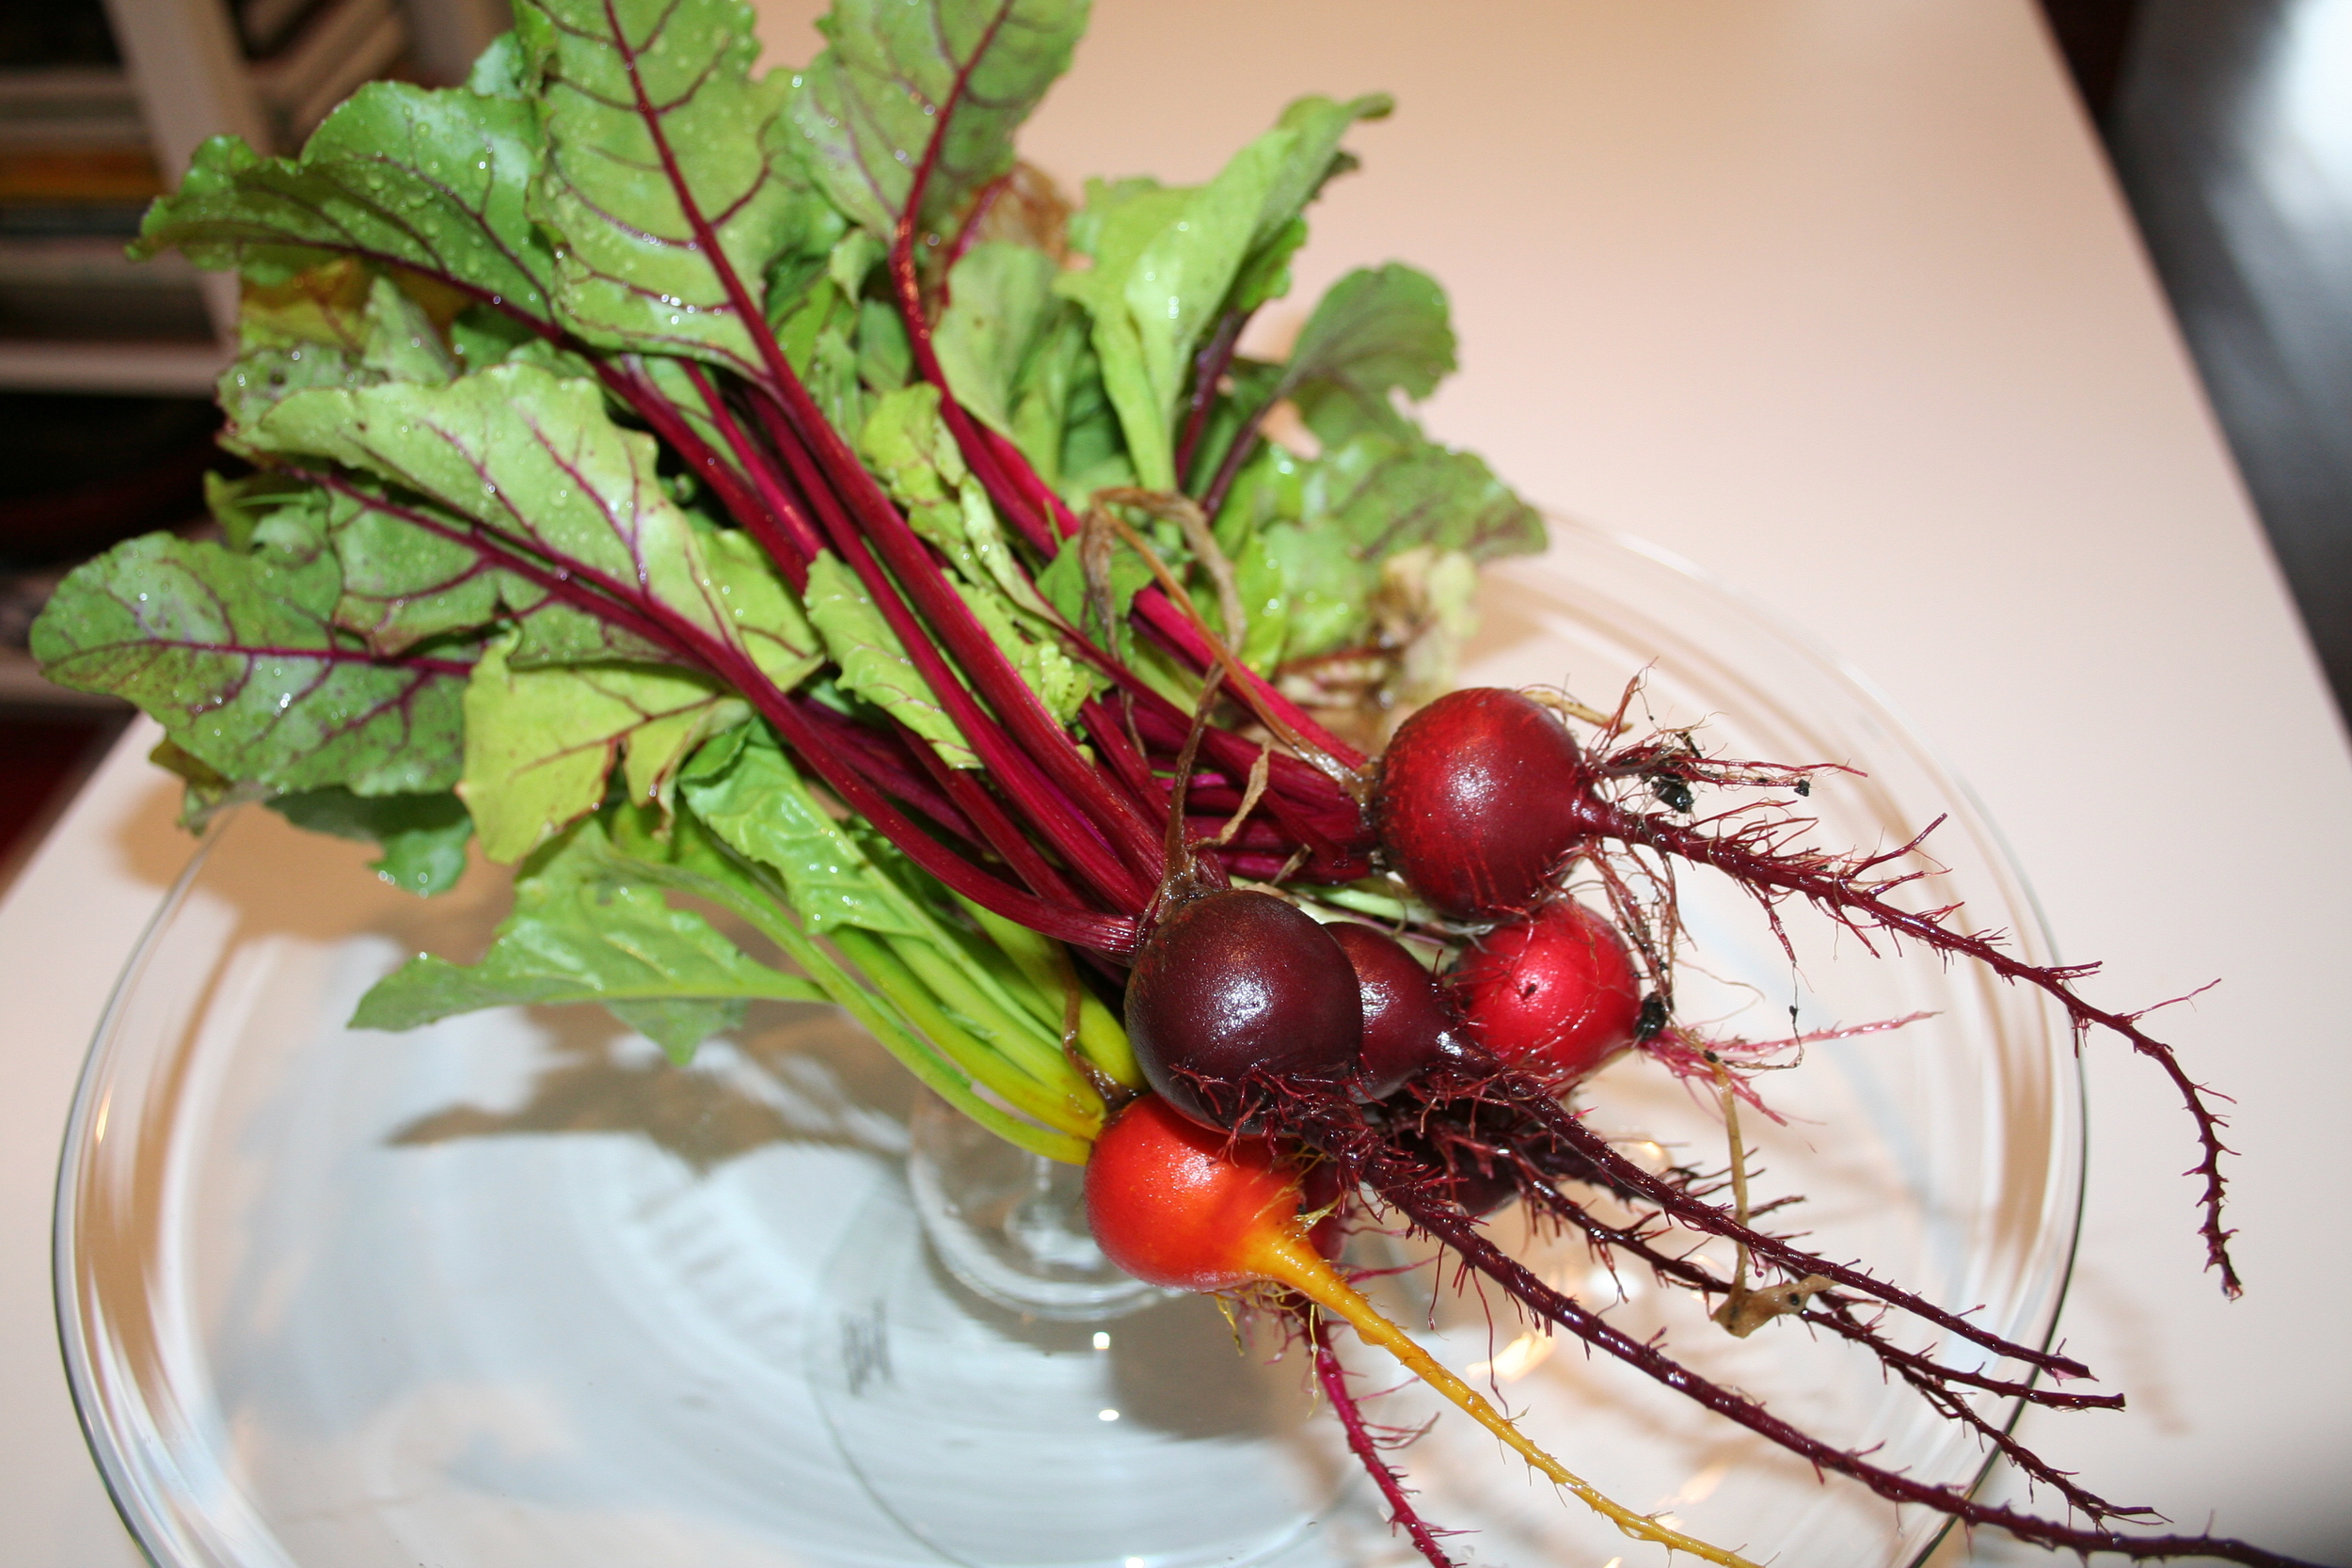
Over the past two weeks, I have planted the early seeds: celery and perennial herbs (which take a long time to grow), tons of onions of many shapes, sizes and colors, and my cole crops (or Brassicas) – like broccoli and kohlrabi – which get a head start indoors but like to be planted out while the weather is still cool.
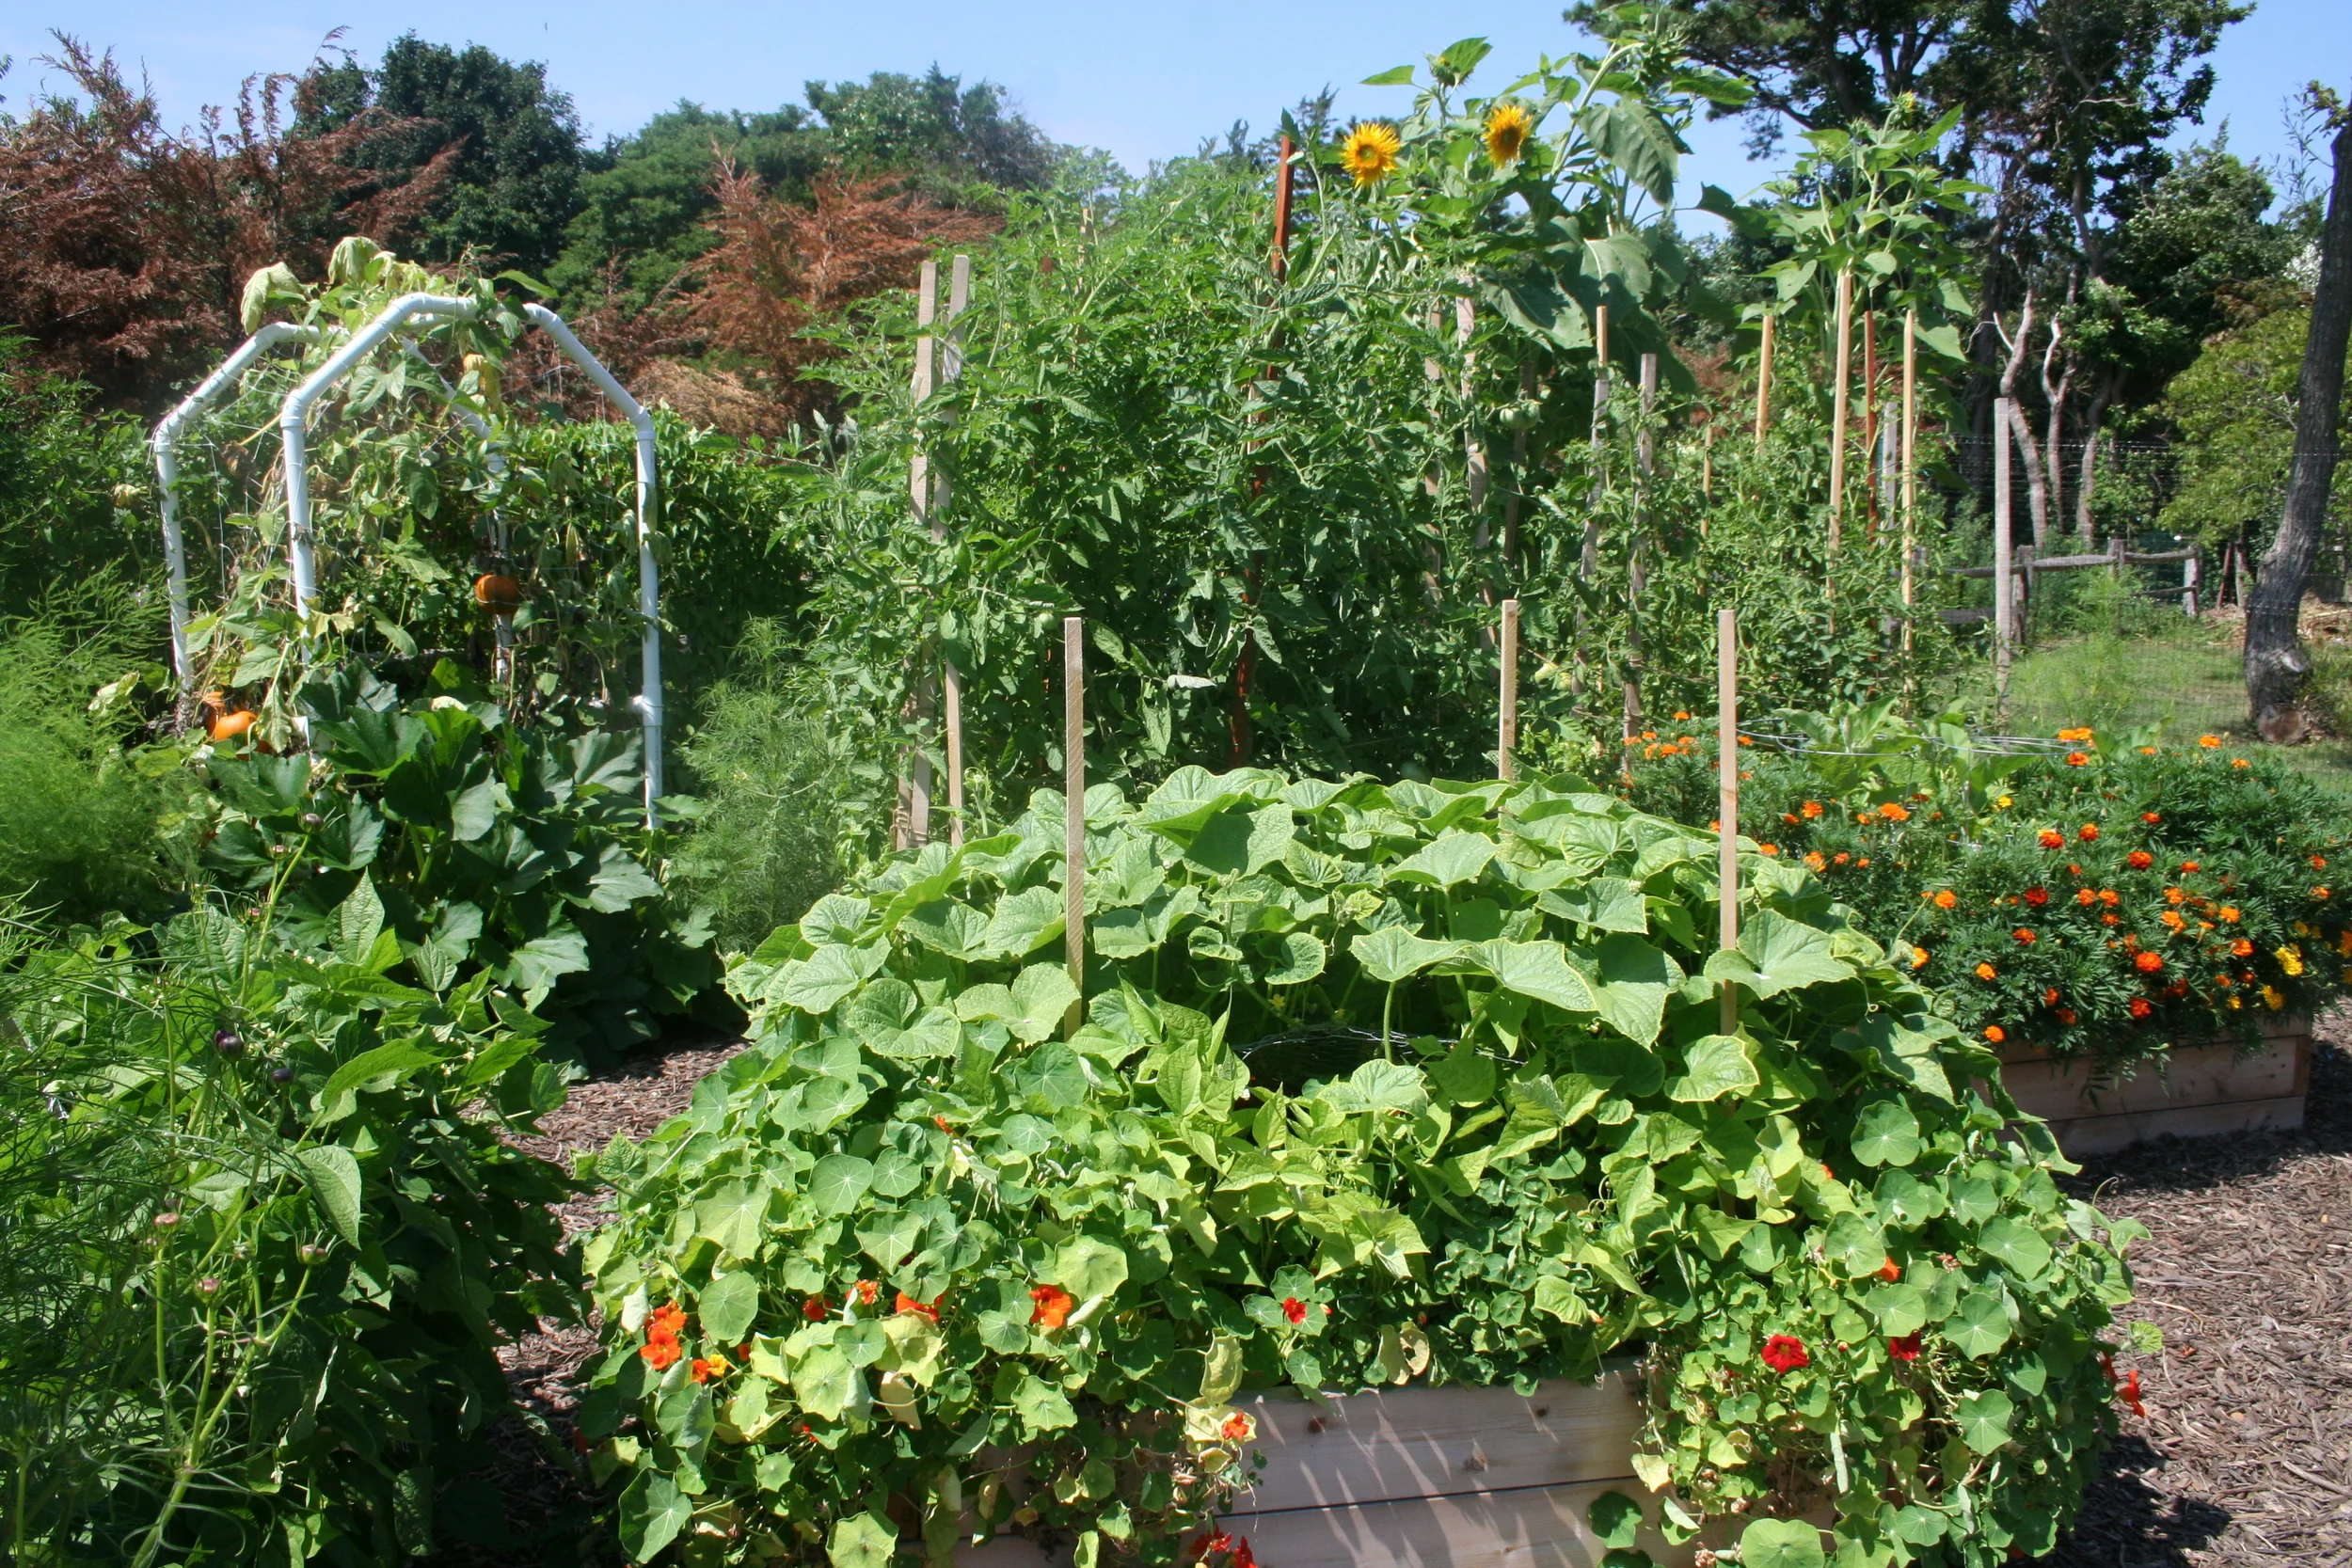
I credit my seedling heat mats for speeding things along this year, because nearly everything has germinated. Gardening season is off to a great start…
Happy gardening!
#organicgardening #WhyIgarden