Go Green!

Deconstruction 101: It’s all in the Details

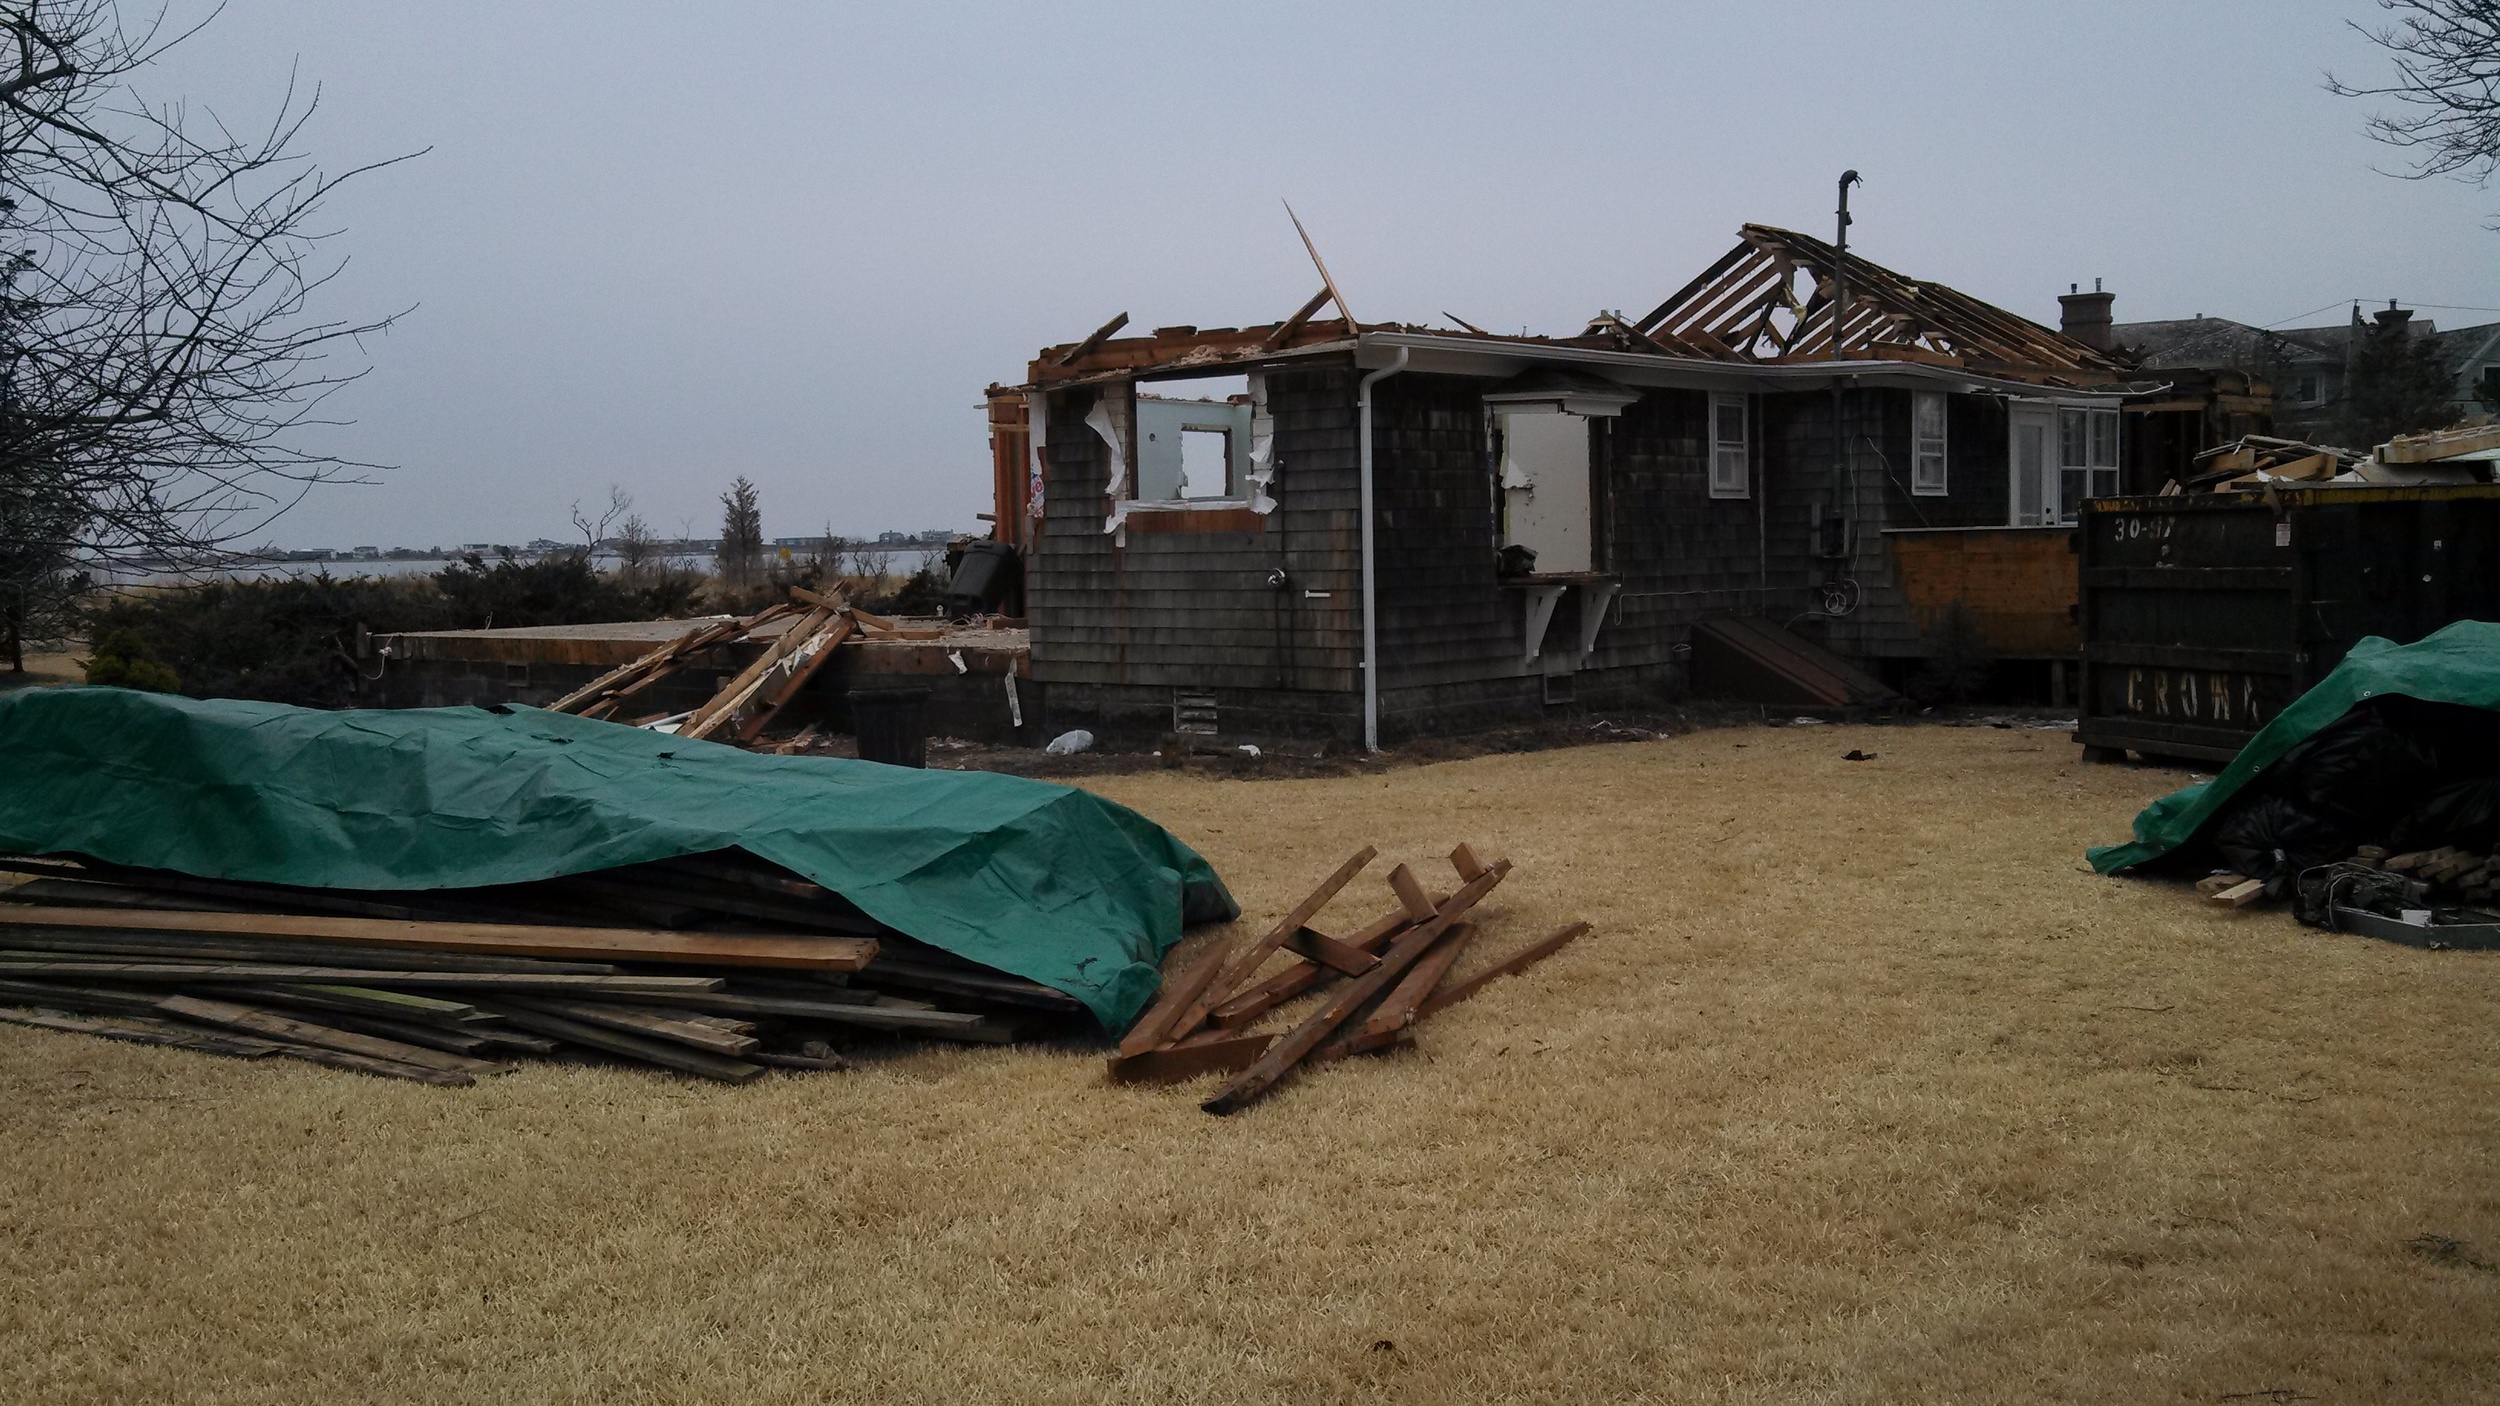
If breaking ground on the Sunset Green Home project is considered “getting out of the starting gate” then removing the house that was substantially damaged by Hurricane Sandy is akin to getting into the starting gate.  And we’re almost there…

Sunset Green Home Under Deconstruction.jpg

Today was Day Four of our Whole House Deconstruction effort, and the house is about halfway down.  So what is deconstruction and why are we doing it?  Deconstruction is NOT demolition.  A typical demolition job would take a fraction of the time that is required for deconstruction, and would cost about half as much.  But 100% of the house would be bulldozed and dumped into a landfill. 

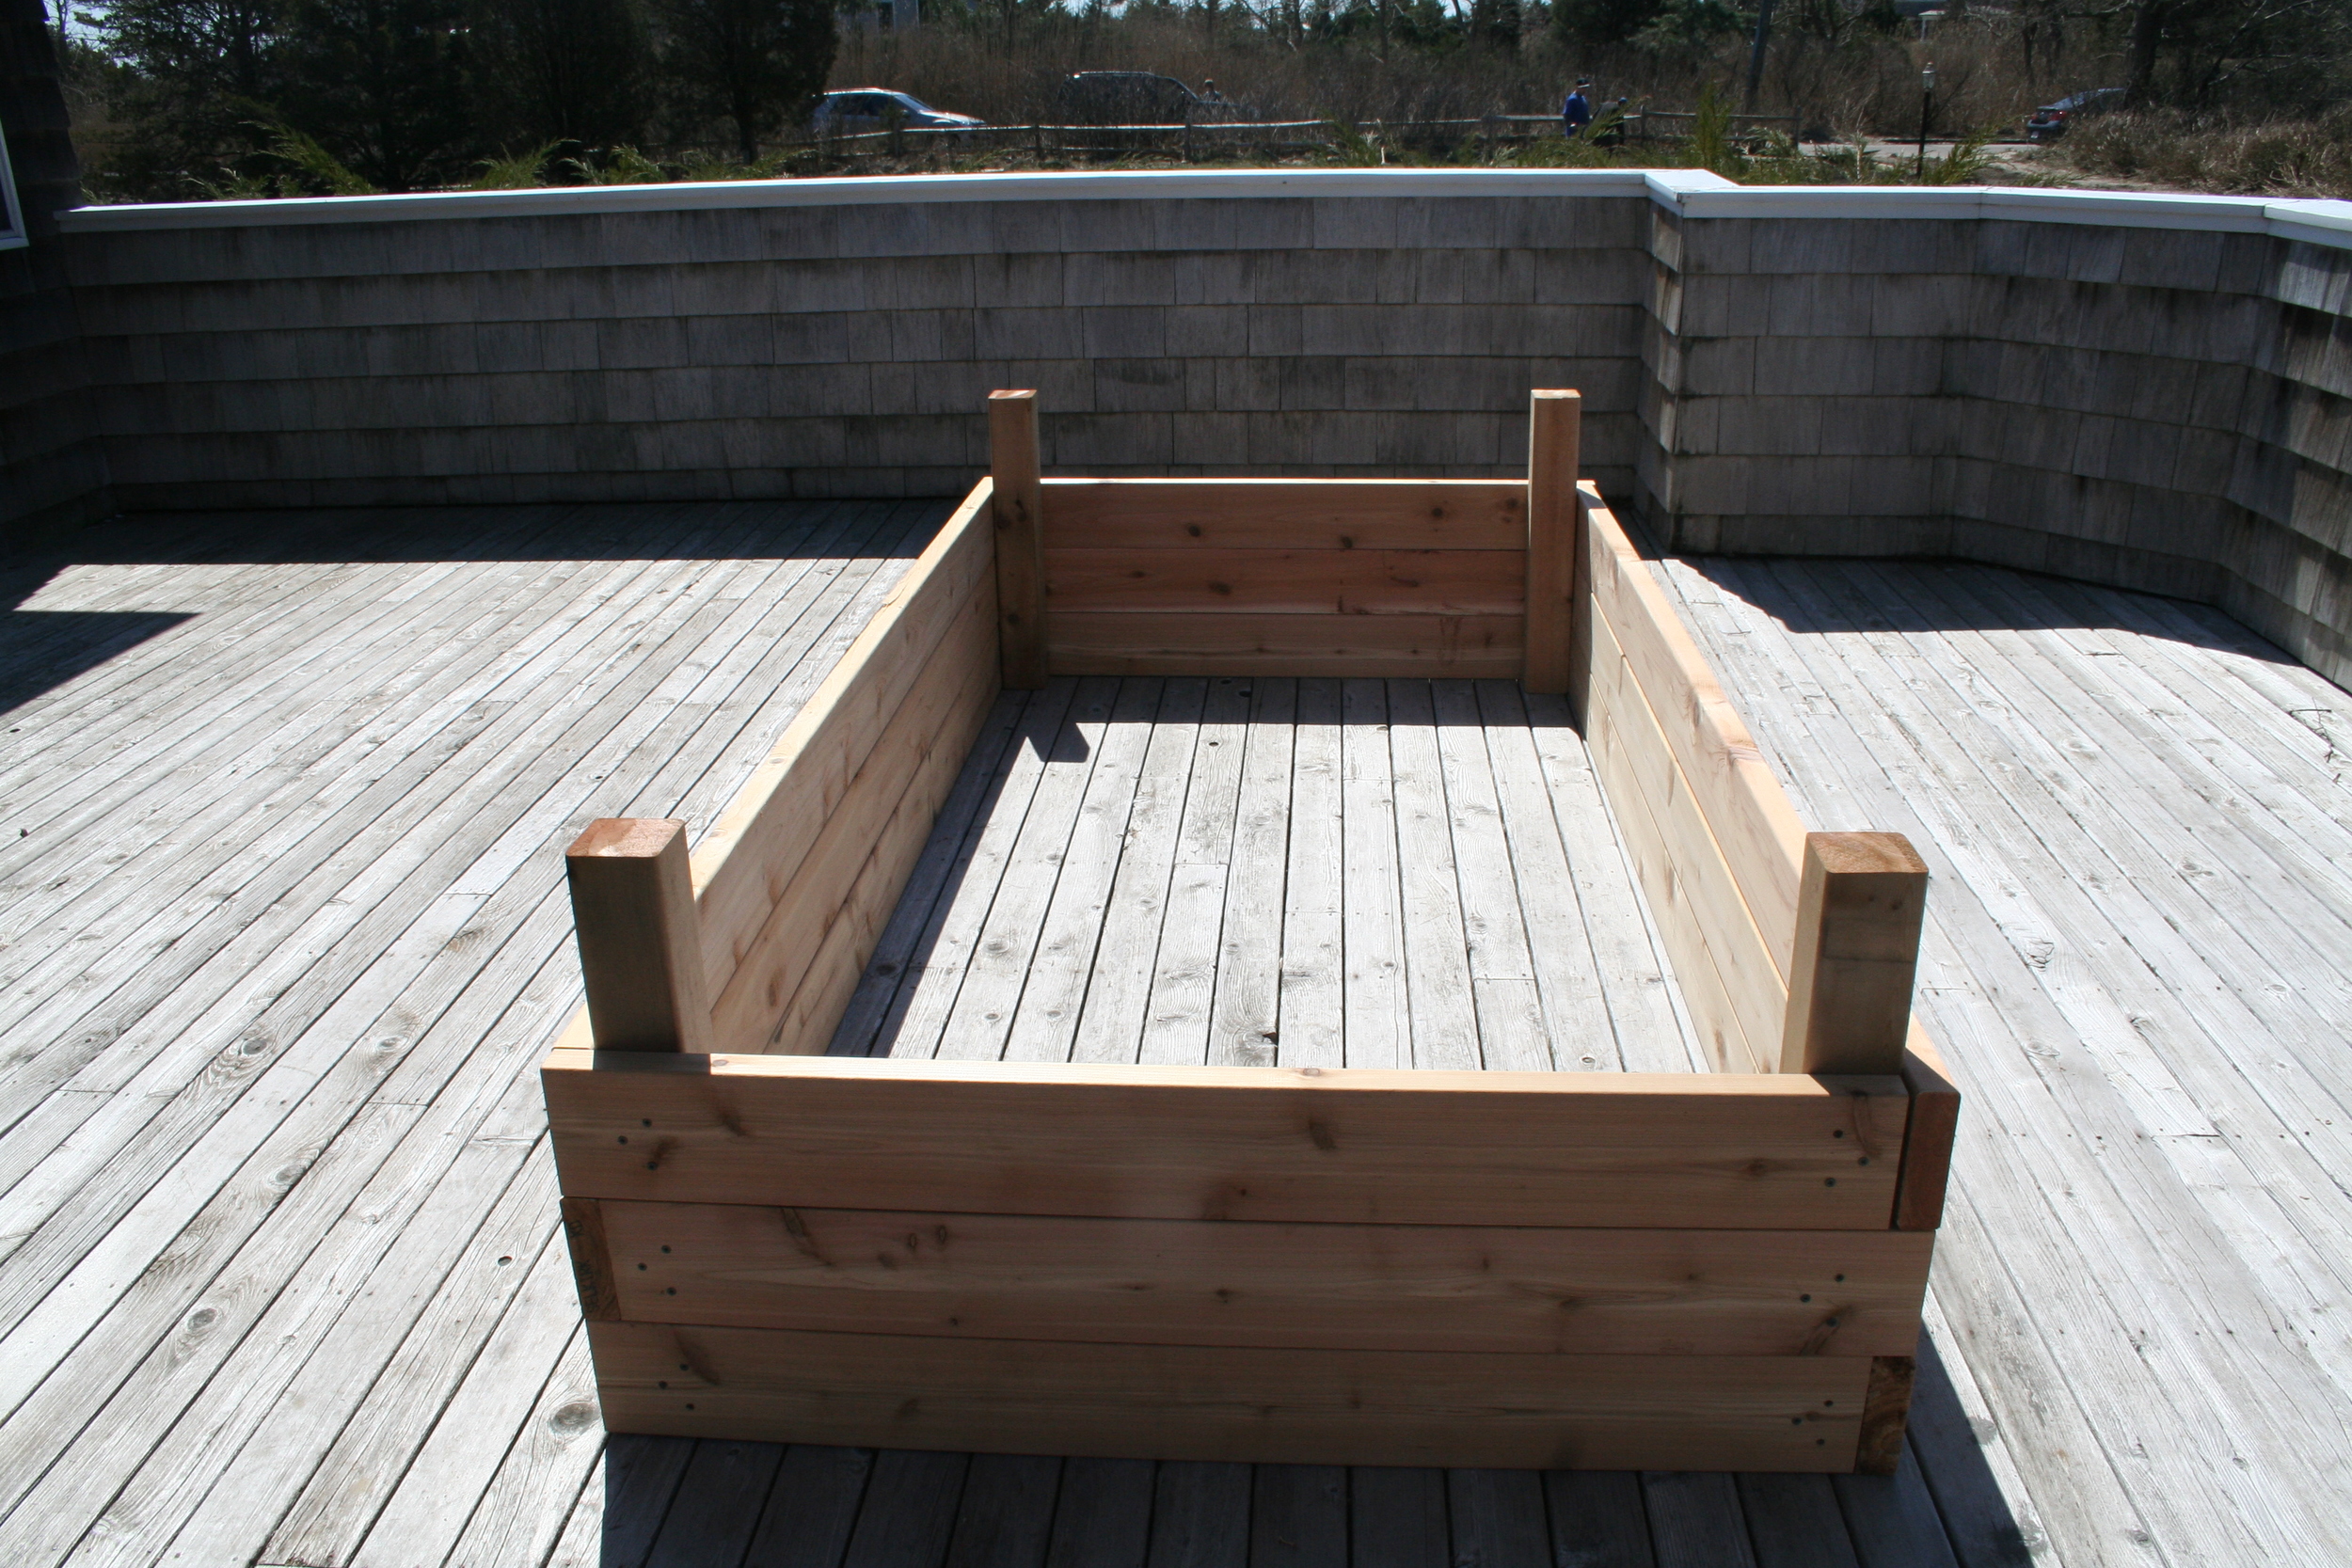
By contrast, whole house deconstruction refers to the careful dismantling of a structure to preserve materials that can be reused elsewhere and to recycle materials that cannot be reused in their current form.  Deconstruction is done by hand.  Workers trained in deconstruction strip the inside of the house, salvaging any fixtures, fittings and materials that can be reused, and setting them aside to be donated to non-profits such as Habitat for Humanity or Build It Green! NYC.

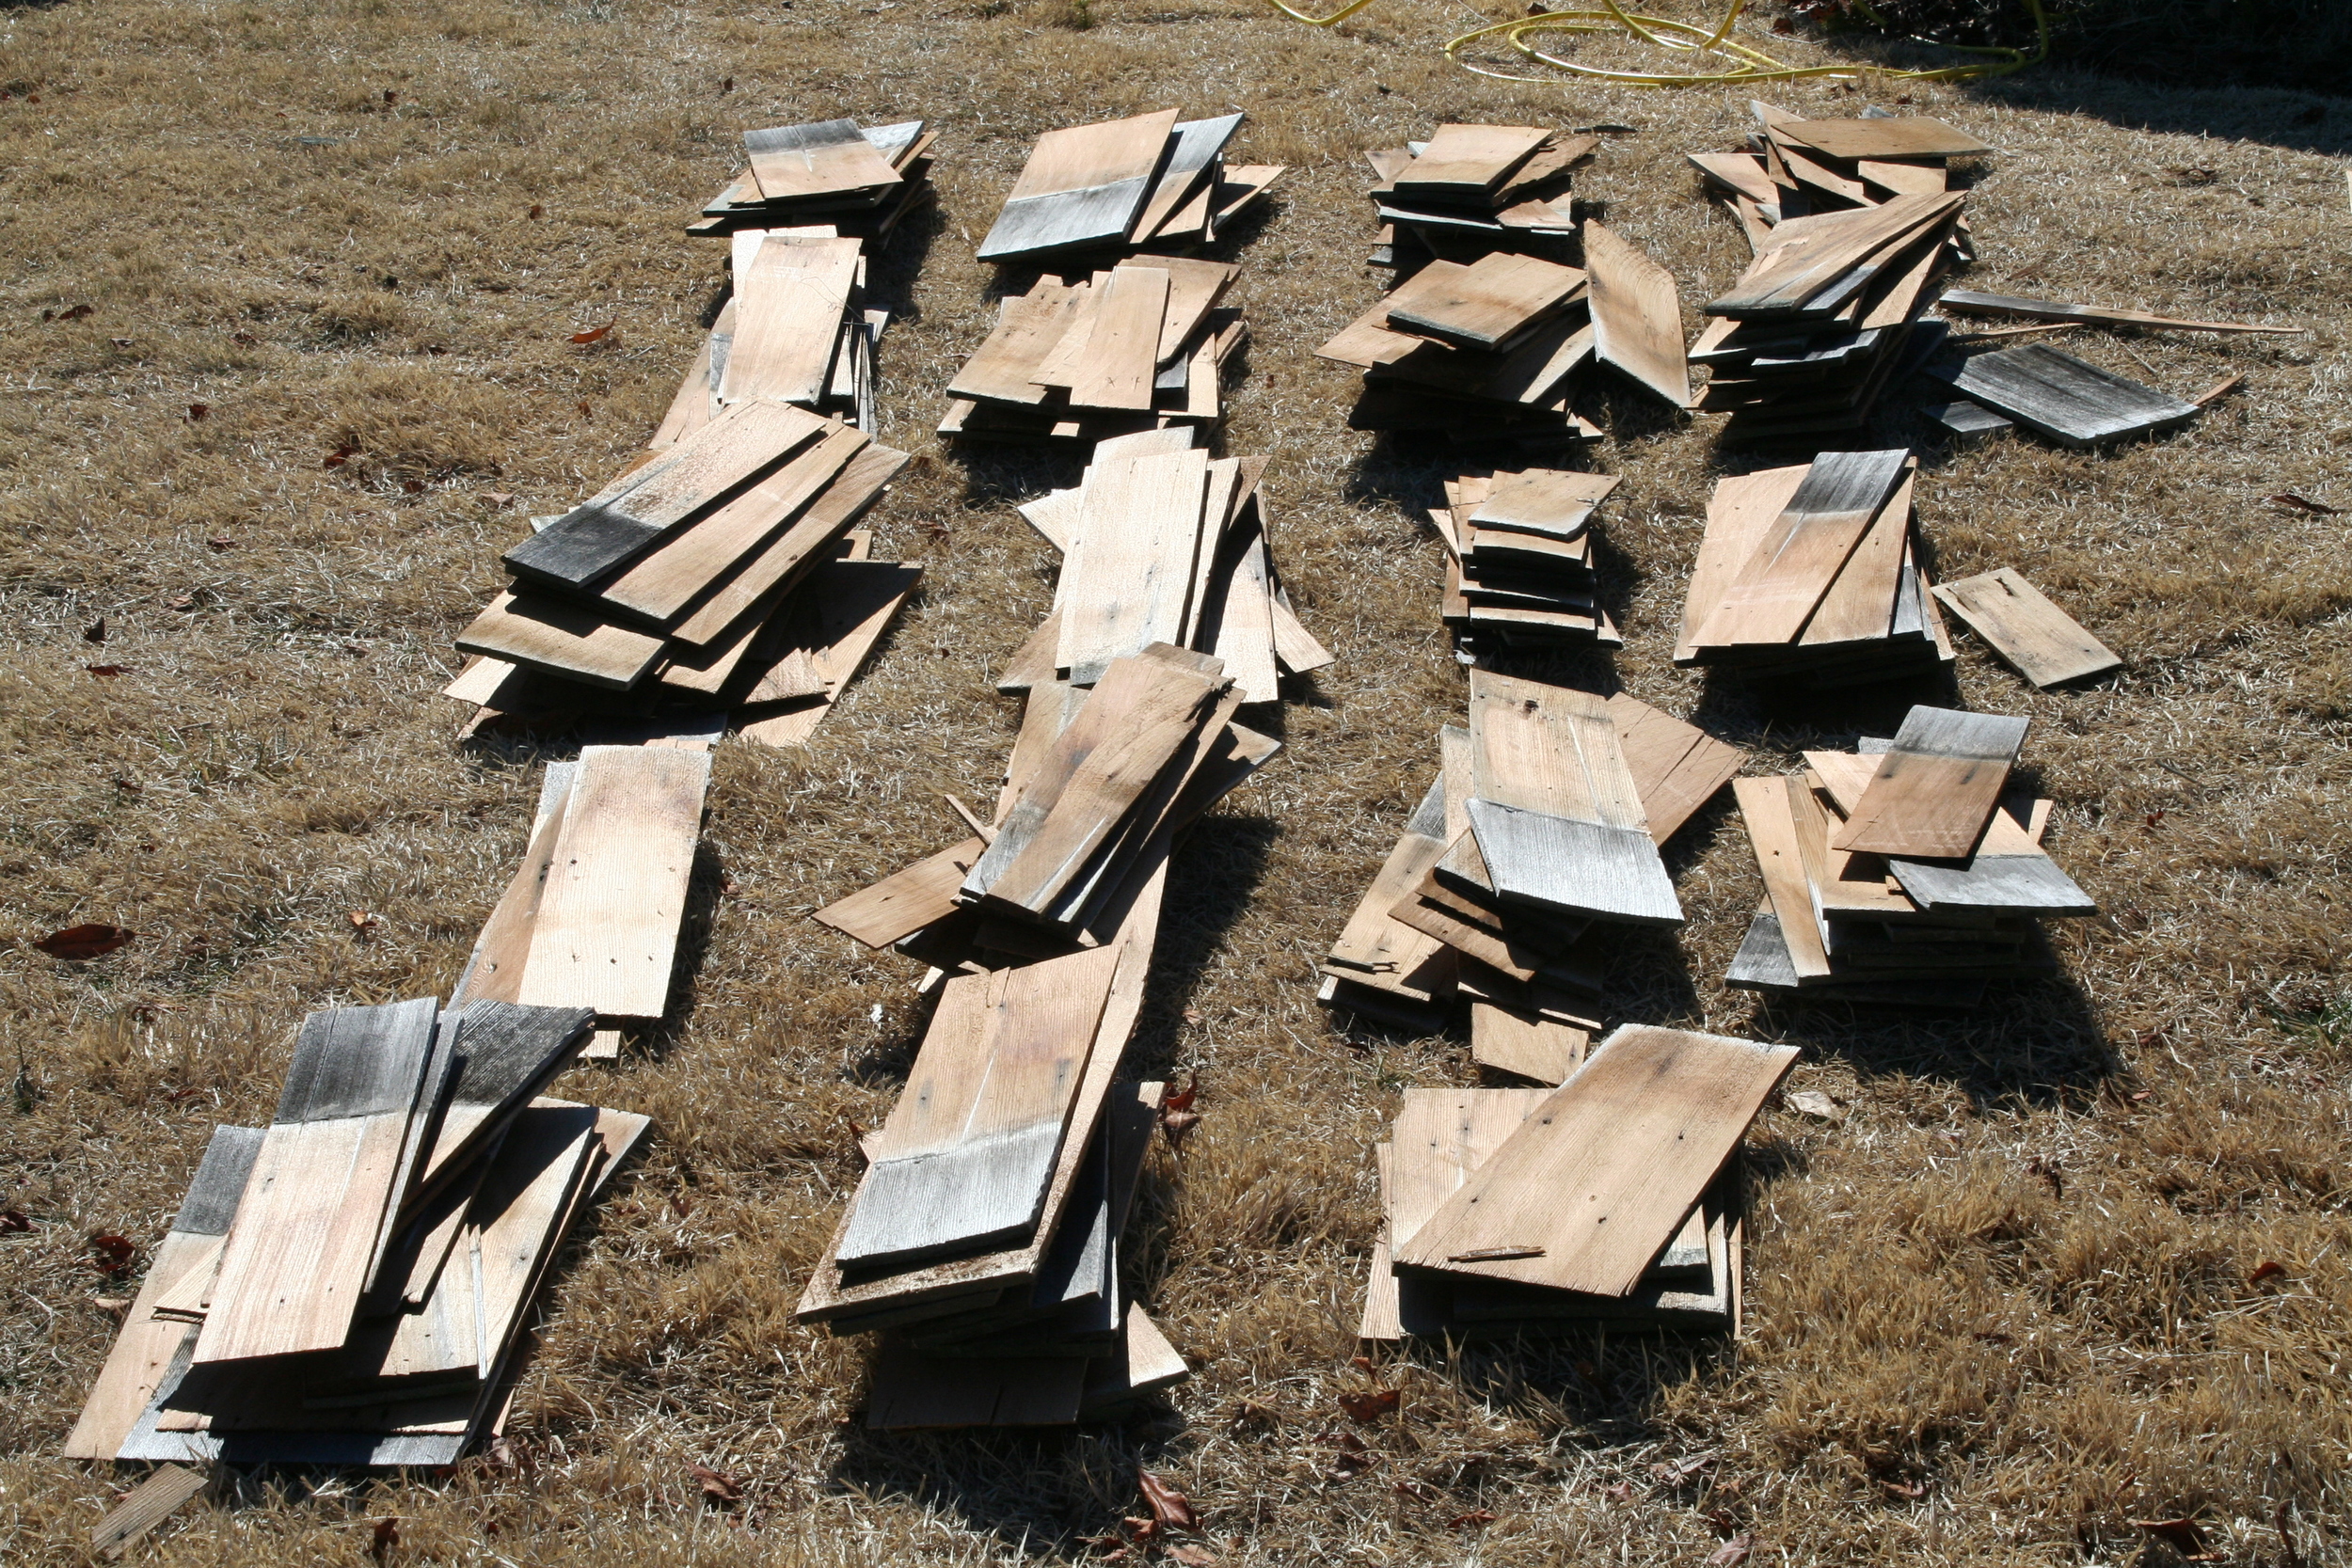
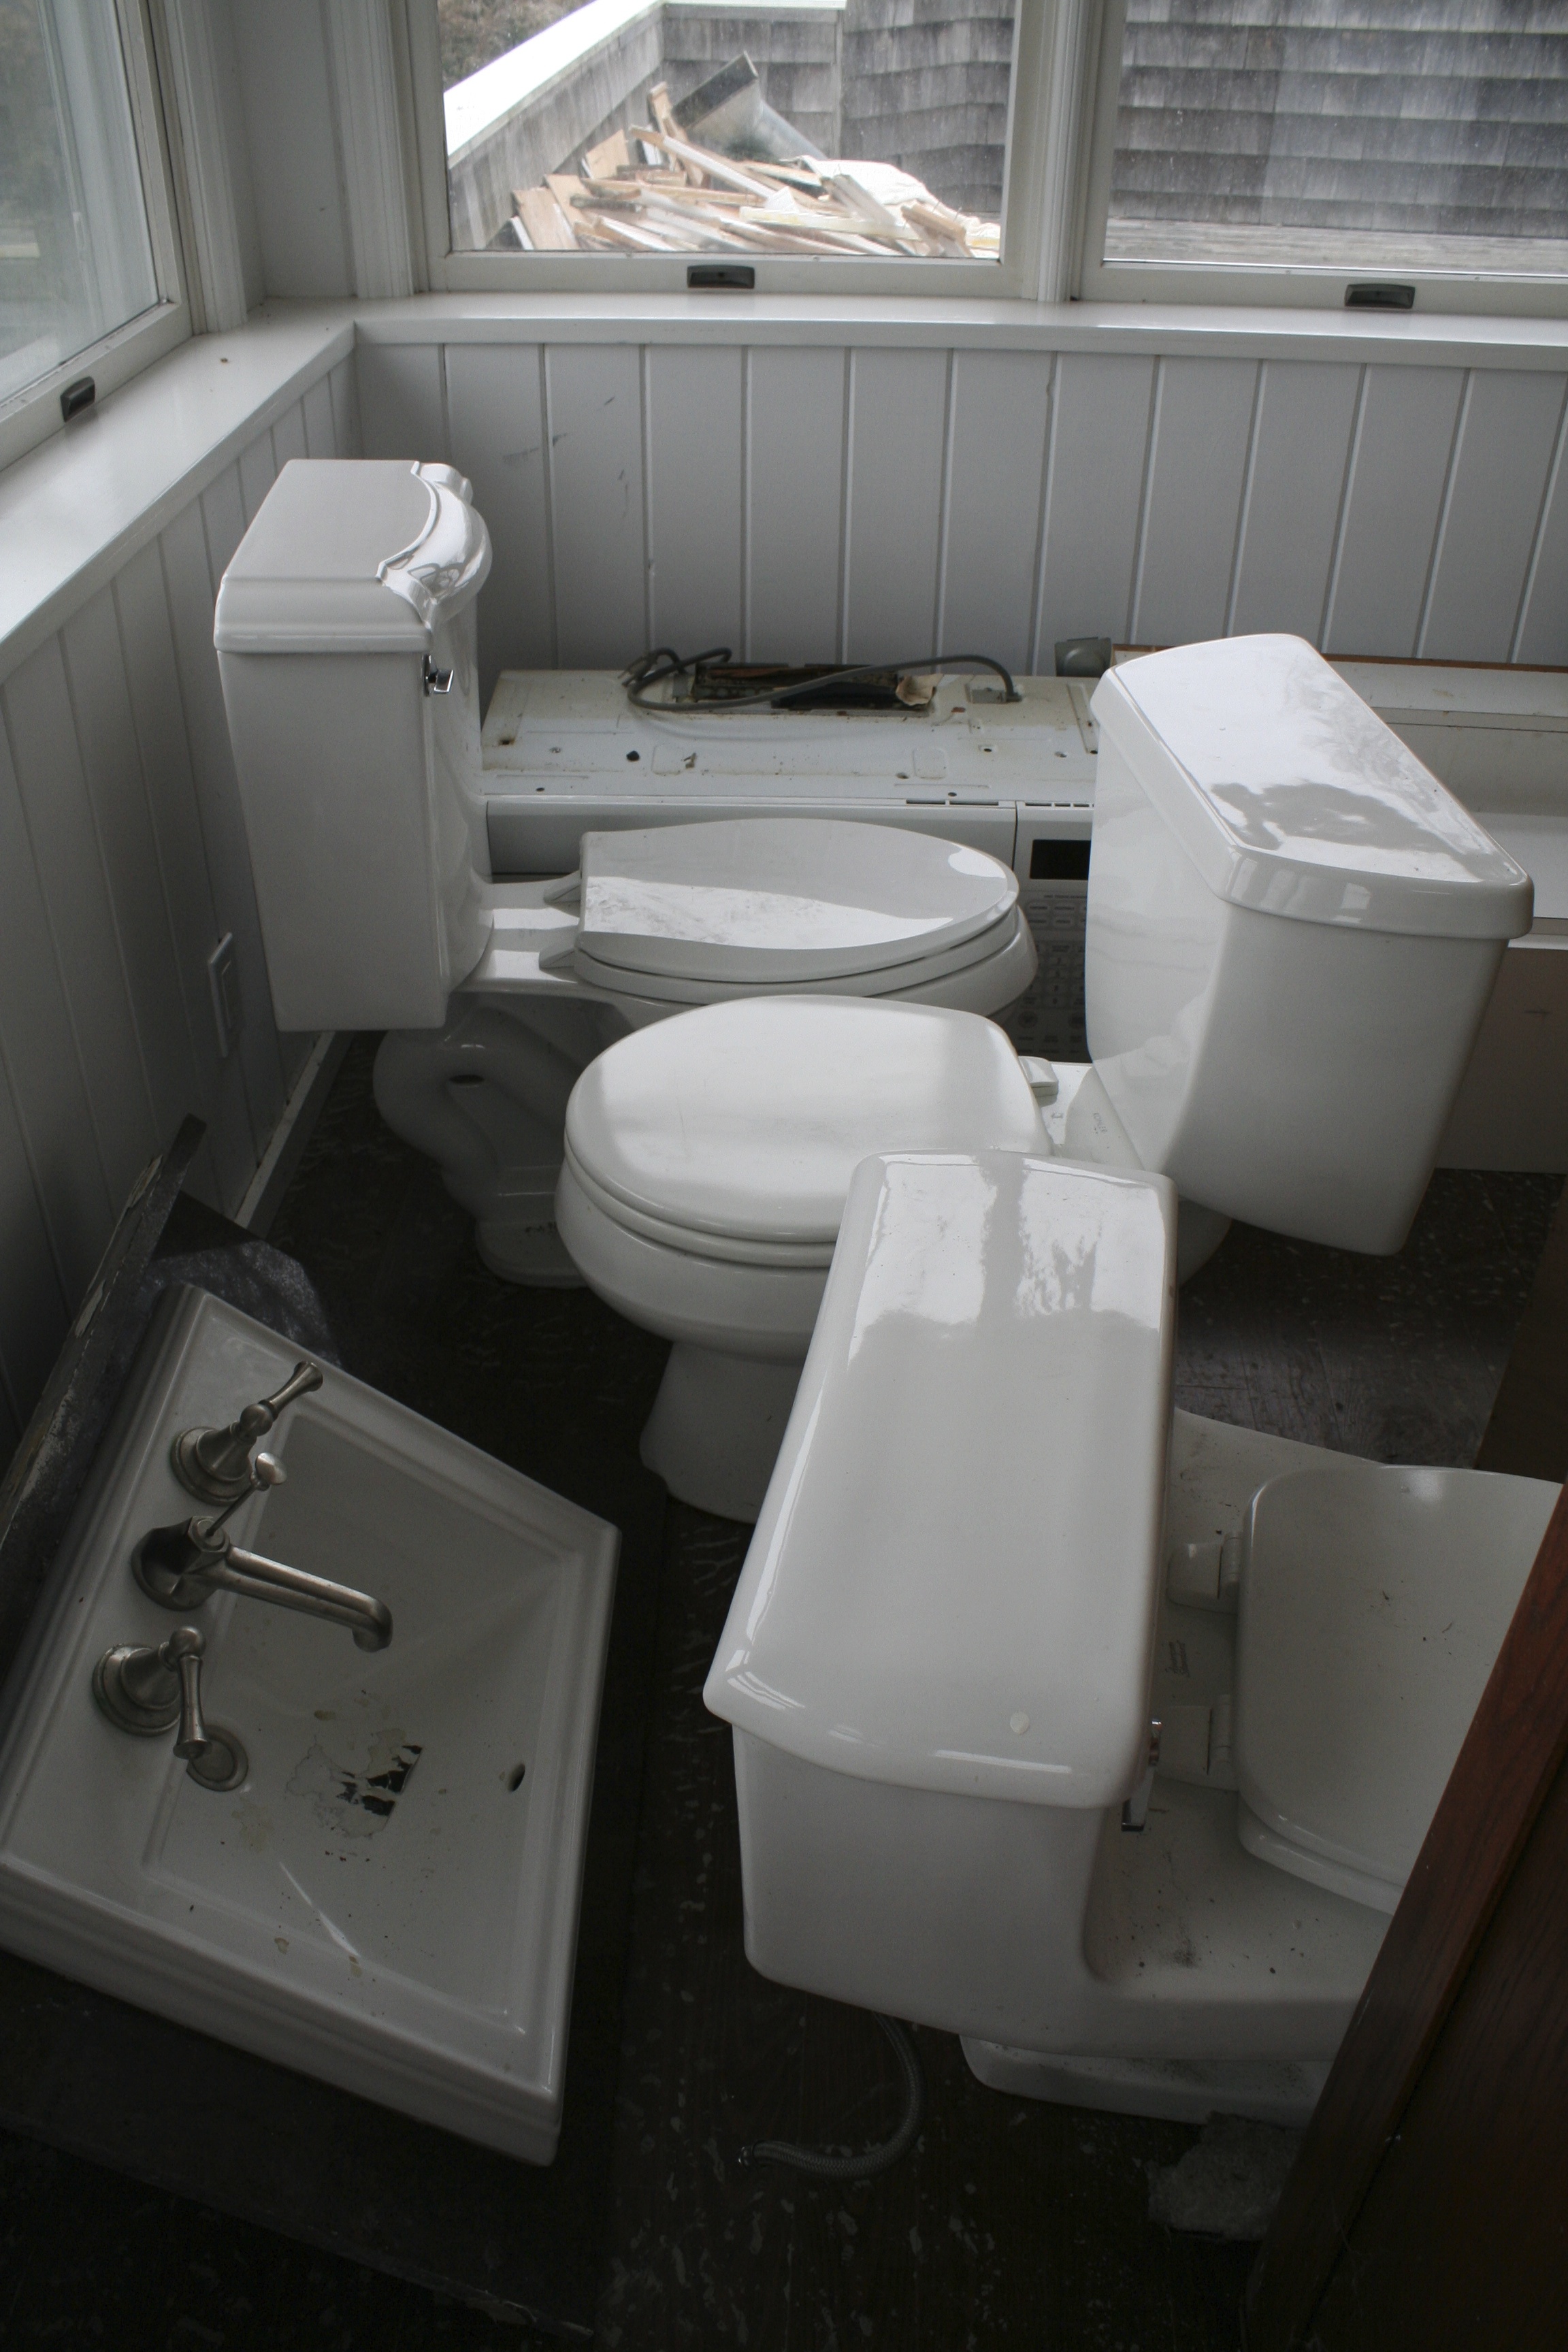
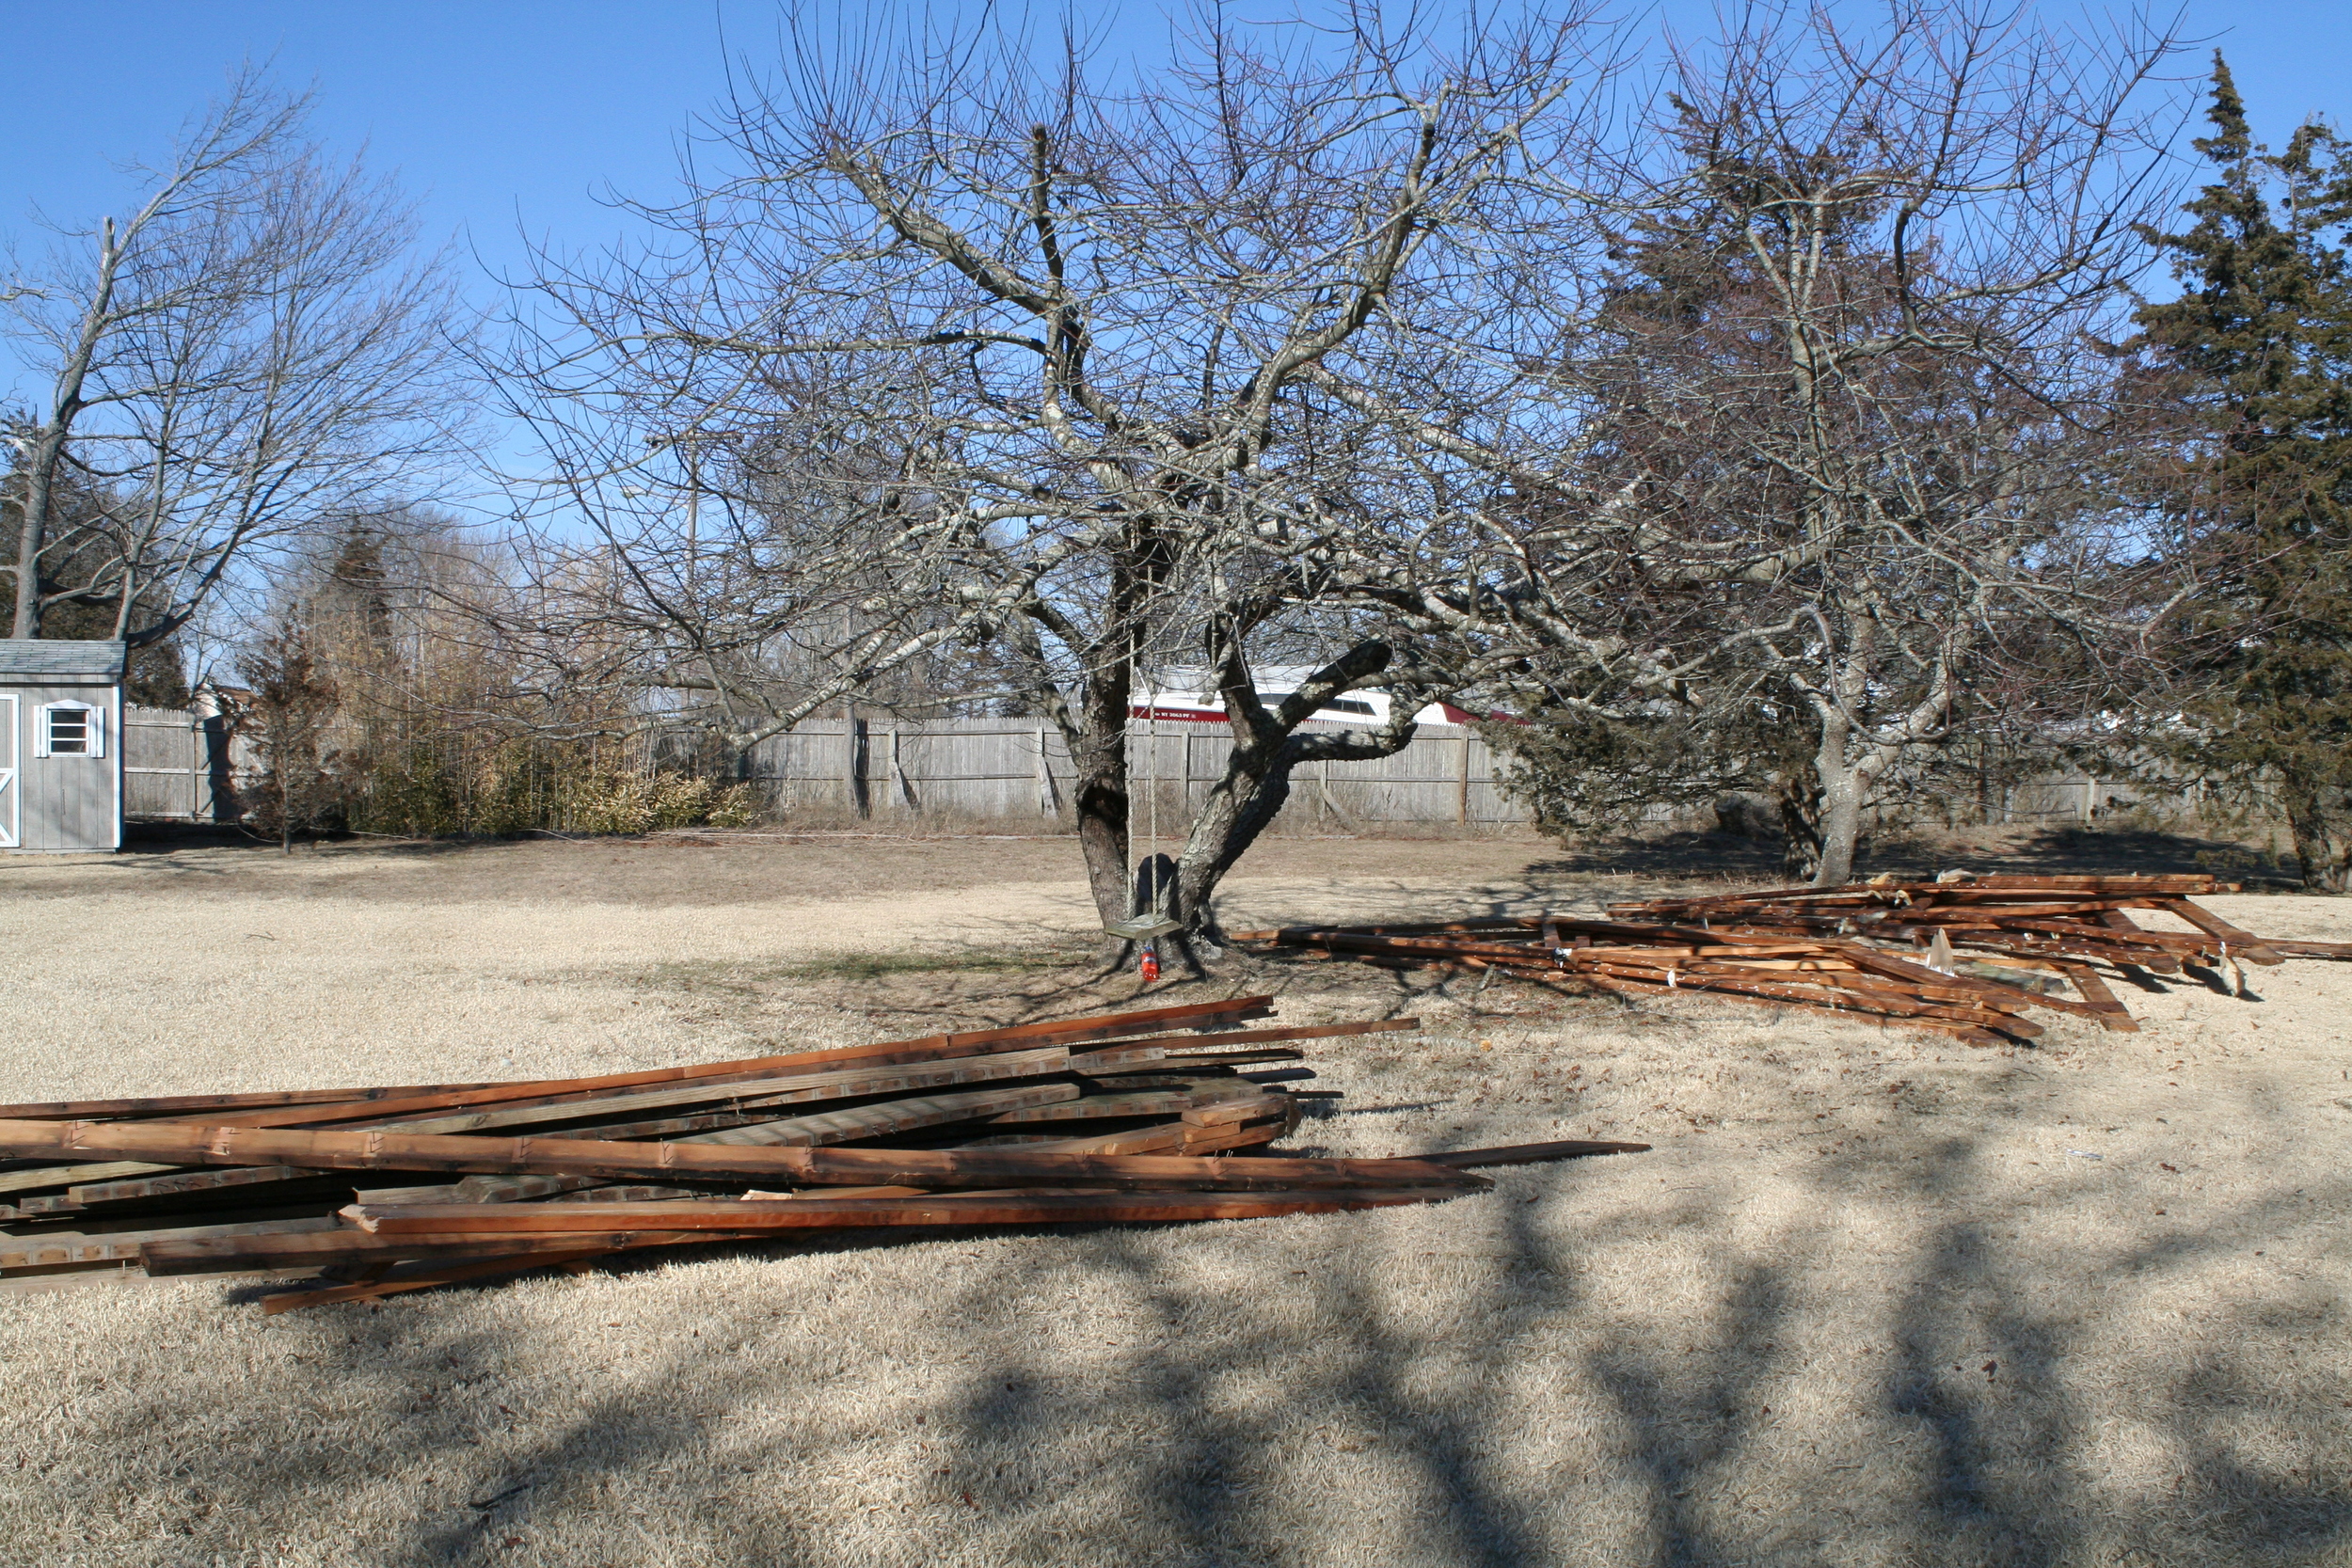
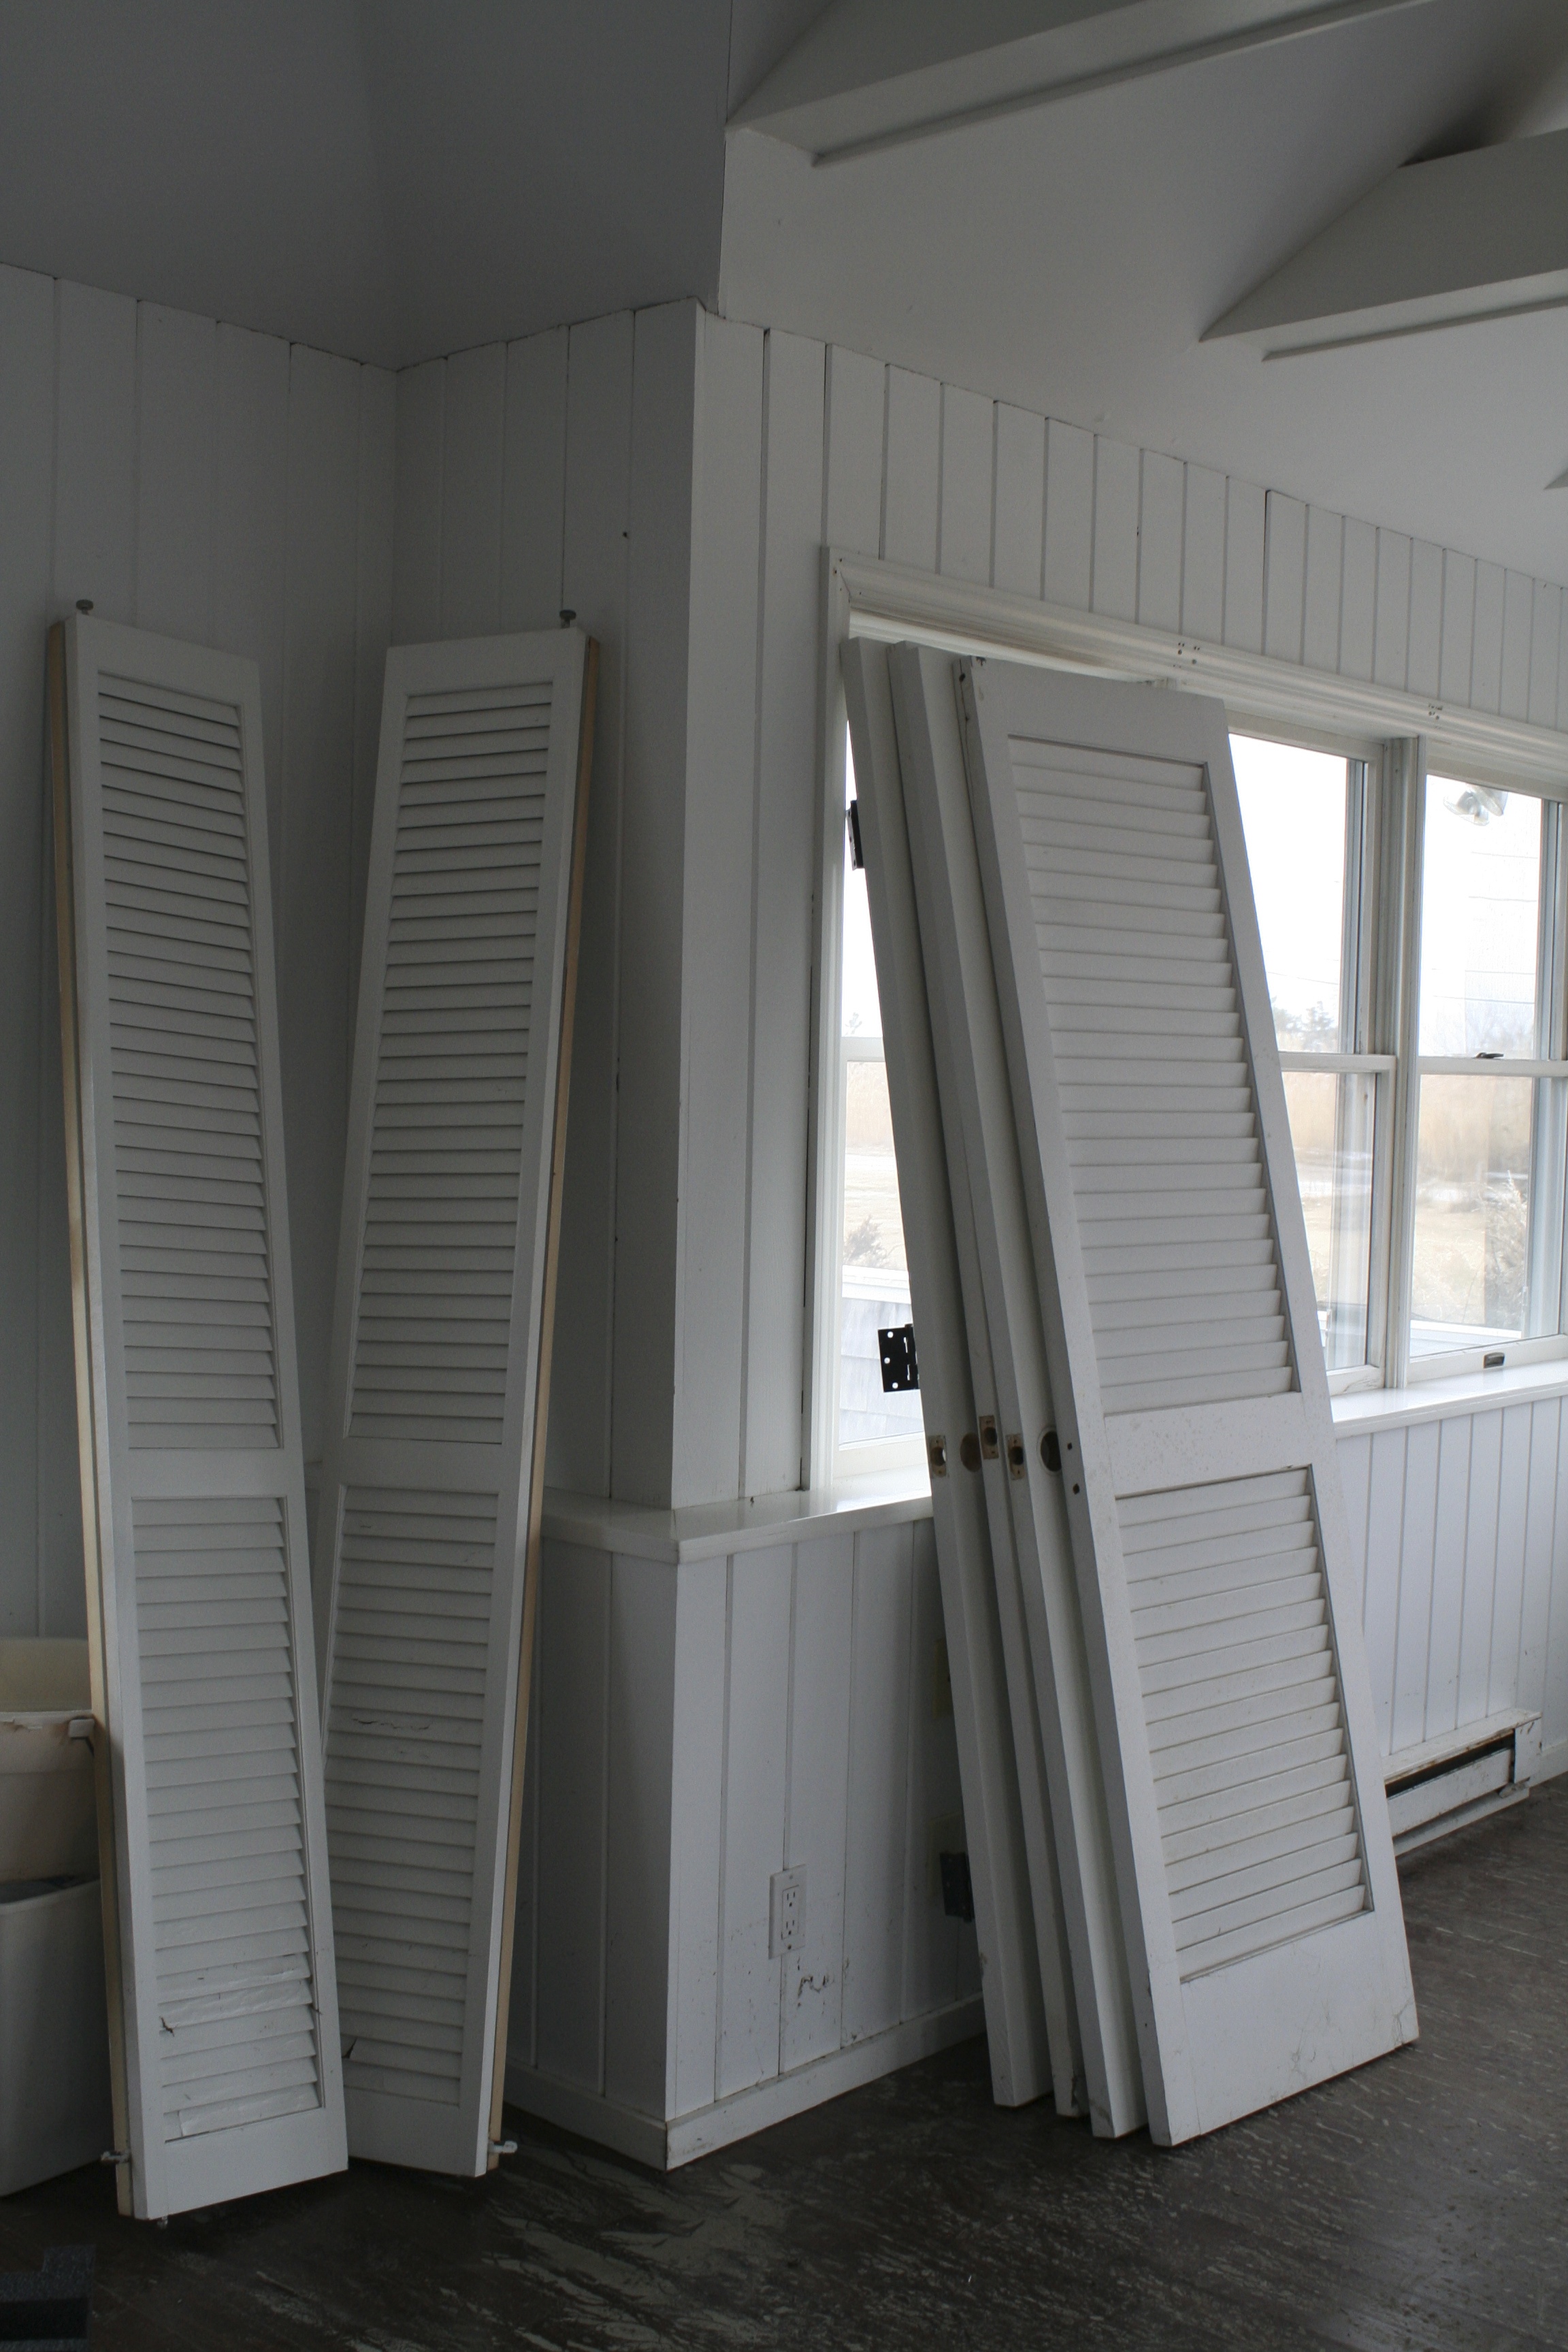
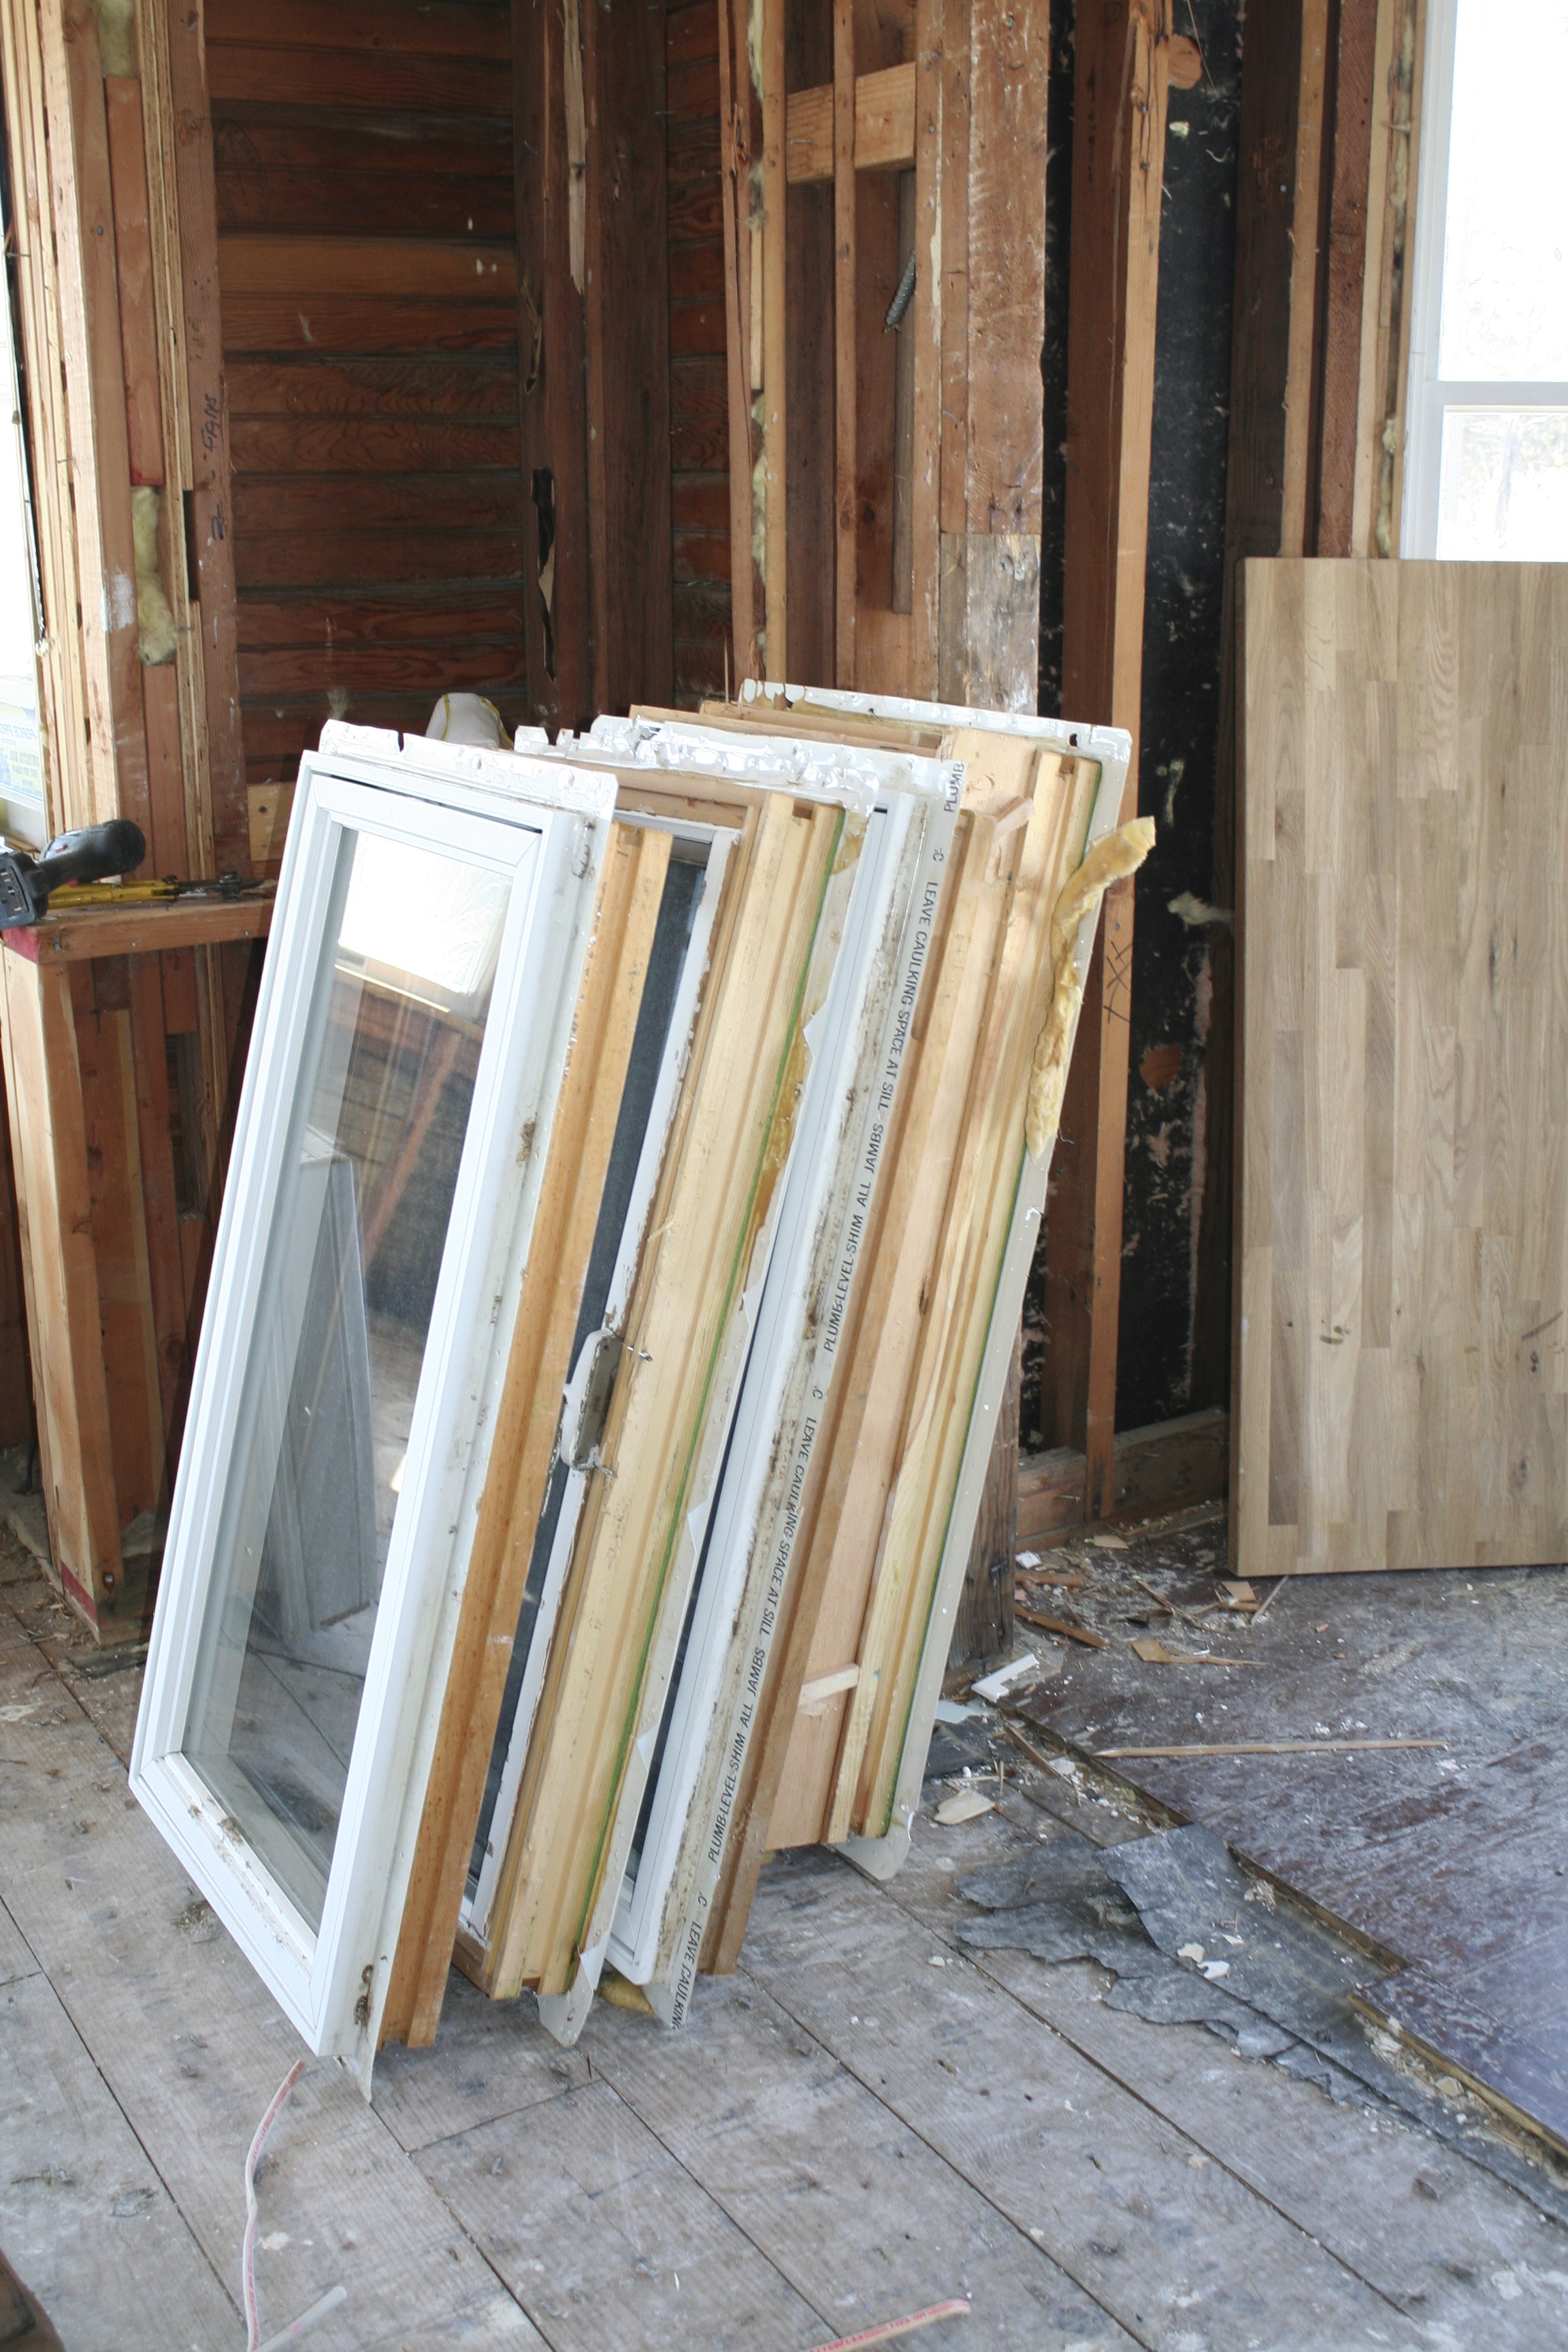
Once the inside of the house has been disassembled, the house is taken apart shingle-by-shingle and stud-by-stud from the roof to the foundation.  Again, any materials that can be salvaged – such as windows and flooring – are carefully removed and earmarked for donation.  Whatever can’t be salvaged is taken by a waste hauler who is focused on recycling and is able to divert a significant portion of the waste away from the landfill.

Details Deconstruction Removing Sunset Green Home Windows.JPG

The Sunset Green home is being deconstructed by Details, a division of Humanim, a Baltimore-based non-profit organization whose mission includes workforce development programs.  Details teaches green building practices and provides entry level employment to members of its crews. 

Details Deconstruction Crew at Sunset Green Home.JPG

And in fulfilling its mission, Details keeps thousands of tons of waste from entering our nation’s over-stressed landfills (one estimate by the Deconstruction Institute, funded by the Florida Department of Environmental Protection, estimates a 2,000 square foot house would, if demolished, generate 127 tons of debris). 

The Sunset Green Home project hopes to earn one point toward LEED certification by diverting over 70% of our demolition waste through the deconstruction process.

Our crew is hard at work deconstructing the house on the Sunset Green Home site.  Like I said, it's all in the Details...

Details Deconstruction Team at Sunset Green Home.JPG

Grow Green! Start with Raised Planting Beds

Some sustainable practices are easily incorporated into your life and will bear fruit right away.  Pun intended!  It’s cold and snowy here in NYC, but I’m already thinking about the inevitable arrival of spring…and for me that means gardening.

Sunset Green Home garden in midsummer bloom.

Sunset Green Home garden in midsummer bloom.

Raised bed gardening is an easy, space efficient, and healthful way to go green.  By growing your food yourself, you'll know that you aren't ingesting any harmful pesticides and that no fossil fuels were burned to get the food to your doorstep.  And growing your own produce also contributes to biodiversity; you can pick from the many heirloom varieties that cannot be grown by commercial growers whose crops are often limited to ones that have been engineered to hold up to handling and transportation.  If that’s not enough to convince you, just wait until you taste a fresh asparagus spear straight out of the ground – it’s better than the best you’ll find in your local grocery store!

Now that you’re convinced, how can you make your garden a reality? 

Building Sunset Green Home Garden Beds.JPG
Raised Garden Bed Under Construction.JPG
Raised Bed Garden Under Consruction.JPG

To build our raised garden beds, we used untreated cedar for its natural pest-resistant properties (redwood would have been fine, too). Consider using wood that has been certified by the Forest Stewardship Council (FSC), which has been sustainably grown and harvested.  There’s been a lot of debate about using untreated vs. pressure treated wood for garden beds. Pressure treated wood will last longer than untreated wood, but doesn’t meet organic gardening standards. However, the National Gardening Association says that new ACQ pressure treated lumber is safe to use for garden beds.

Sunset.com has a great tutorial on building raised garden beds.  We used their plans with a couple of modifications to build our first 18” high raised beds (most notably, Sunset's plans are for 12" high beds; we added a row of 2 x 6 boards to increase the height). They’re beautiful and have withstood the test of time.  Working together with my father and my sons, we were able to build and install three 4 x 8 foot beds in one day (it helped that the lumber yard pre-cut the boards to the lengths we needed). 

For clients and friends (and for my own garden expansion), I have relied on raised bed corners and connectors from Gardeners.com to assemble raised beds in a jiffy. 

Regardless of which design you choose for the boxes, make sure you incorporate these elements into your plan:

1.       Keep your beds to a maximum of four feet wide.  Three to four feet is ideal.  It’s hard to reach the produce in the middle of a bed that is more than four feet wide without stepping on or leaning into the soil and causing it to become compacted. 

2.       Lay down ¼” metal mesh Hardware Cloth in the bottom of your planting boxes to prevent tunneling pests (moles come to mind!) from reaching your produce

3.       Staple Landscape Fabric to the inside faces (but not the bottom!) of your planters to keep your soil from leaking through the cracks between your boards when you water, and to protect the wood from excess moisture

4.       Install drip irrigation on a timer with a separate manual cut off valve if you have multiple beds.  Some fruits – notably watermelons – don’t want to be watered at all once their fruit has set…but you may not want to set up separate watering zones for each bed.  A manual cut off will easily solve the problem.

5.       Once you have prepared your beds, fill them with a good quality mix of organic topsoil, compost and peat. 

In my Plant Hardiness Zone, I can start planting some of my early crops as soon as next month.  SproutRobot has a neat tool for determining when you can start planting outdoors where you live.  Make sure you get your raised beds built in time to be ready to start planting.  And bookmark my Garden Journal so you can check back throughout the spring as I add tips for crop selection and low maintenance growing.

Happy gardening!

Salt the Sidewalks?

It’s snowing again!

The 50+ degree weather of the Super Bowl was a one-day gift to Sea Hawks fans, Broncos fans and everyone in the New York City area.  But now we’re back to this winter’s “normal.”  With over 34” of snow so far this winter, NYC already has a significant surplus versus average annual accumulation at this point in the season.  And between this storm and the one that is predicted to hit over the weekend, we could be looking at another six to eight inches.

IMG_20140205_093913_417.jpg

So what’s a New Yorker to do?  Salt the sidewalks, that’s what!

My dog and other NYC canines would definitely say no!  My dog isn't one of those overly pampered pets.  She doesn't wear sweaters or raincoats or jackets.  Her fur coat seems just fine for warmth.  But every time it snows, I painstakingly insert her four little paws into rubber balloon-like booties for the sole purpose of protecting her feet from chemical salts.  Those little white pellets that cause the snow to melt can also cause chemical burns on our pets’ feet.  I roll up a newspaper and bop myself on the nose every time my dog limps through a patch of chemical salt because I forgot to put her booties on.

If chemical salts can cause such harm to my pet’s paws, what are they doing to the environment?  And are there any reasonable alternatives?  It turns out that there is no holy grail for sidewalk deicing.  Road Salt is the least expensive option, and is generally used, as you’d imagine, on roads.  Its large crystals and ability to lower the freezing point of water, make it the most popular municipal deicer.  But it has the potential to make trouble for plants, animals and humans (through its effect on the water supply).  Alternative products exist, and in New York City we often see little white pellets of Calcium Chloride (the culprit with respect to our dogs’ paws) – but Calcium Chloride is costly, may cause skin irritation, is corrosive to concrete and metal, and can damage carpets if tracked indoors. Magnesium Chloride is the least environmentally harmful of the chemical salts, but it, too, is corrosive to metal and is a more expensive option.  “Natural” products, like sand and sawdust, won’t melt the ice, but do have their place as anti-slip agents.  

Perhaps, instead of using pounds of chemicals, we should think about using an ounce of prevention.  Why not try to keep the sidewalks free of ice buildup during the storm so that you don't need to use deicing products at all?  I spoke with my building's superintendent this morning as he was using a wire brush to clear the freshly shoveled sidewalks; he says that our building tries not to use any deicers.

So here are some practical tips for dealing with icy sidewalks:

1.  Keep the sidewalks clear during the storm.  Doing so may eliminate the need for deicing chemicals. 

2.  If you must use a deicer, apply it with a mechanical spreader.  You’ll use less deicing product while spreading it out more evenly.

3.  Include an equal part of sand in your deicing mix (this is a sensible suggestion by the NYC Landmarks Commission).  It’ll give your sidewalk some traction without harming the environment.

4.  Clean up the salt and deicing pellets that remain on the ground when the snow is gone.  Sweep them up and dispose of them properly to reduce the likelihood that they end up in our water supply.

Our environment will thank you…and so will our dogs!